When I was a kid I distinctly remember my Dad taking a brussels sprout, placing it on my great-grandparents’ fence and shuttling us all inside to watch out the gigantic floor to ceiling windows. The entire room was silent (even Grandma B, who was never silent) as we all stood and watched in wonder as a squirrel approached the sprout, sniffed and rejected it with a flip of its tail. My Dad was SO incredibly happy. My Dad despised brussels sprouts. I really wish Instagram and Twitter would have been around back then to capture that moment because I’d love to have posted a photo of my Dad’s face. Instead, here is an even better photo that Instagram didn’t capture:
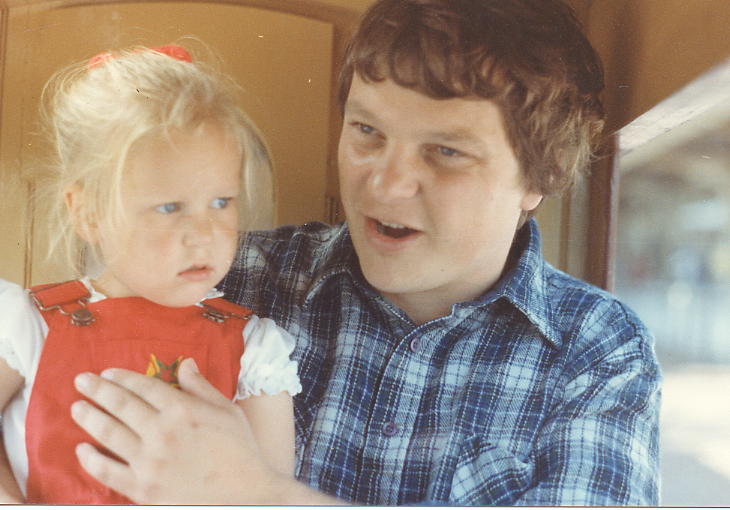
My Dad and I.
I cannot remember exactly how brussels sprouts were cooked in our family growing up, or if one side of the family cooked them differently than the other, but I do know that like my Dad, I did not like them, at all. After I was married and started to cook my own vegetables I discovered that there were actually some vegetables that I really enjoyed. Brussels sprouts for instance are actually really very good, especially if they are roasted in the oven (I also love sprouts grilled, but you will have to ask my Dad about that). So, how do I do the magic that is roasting?
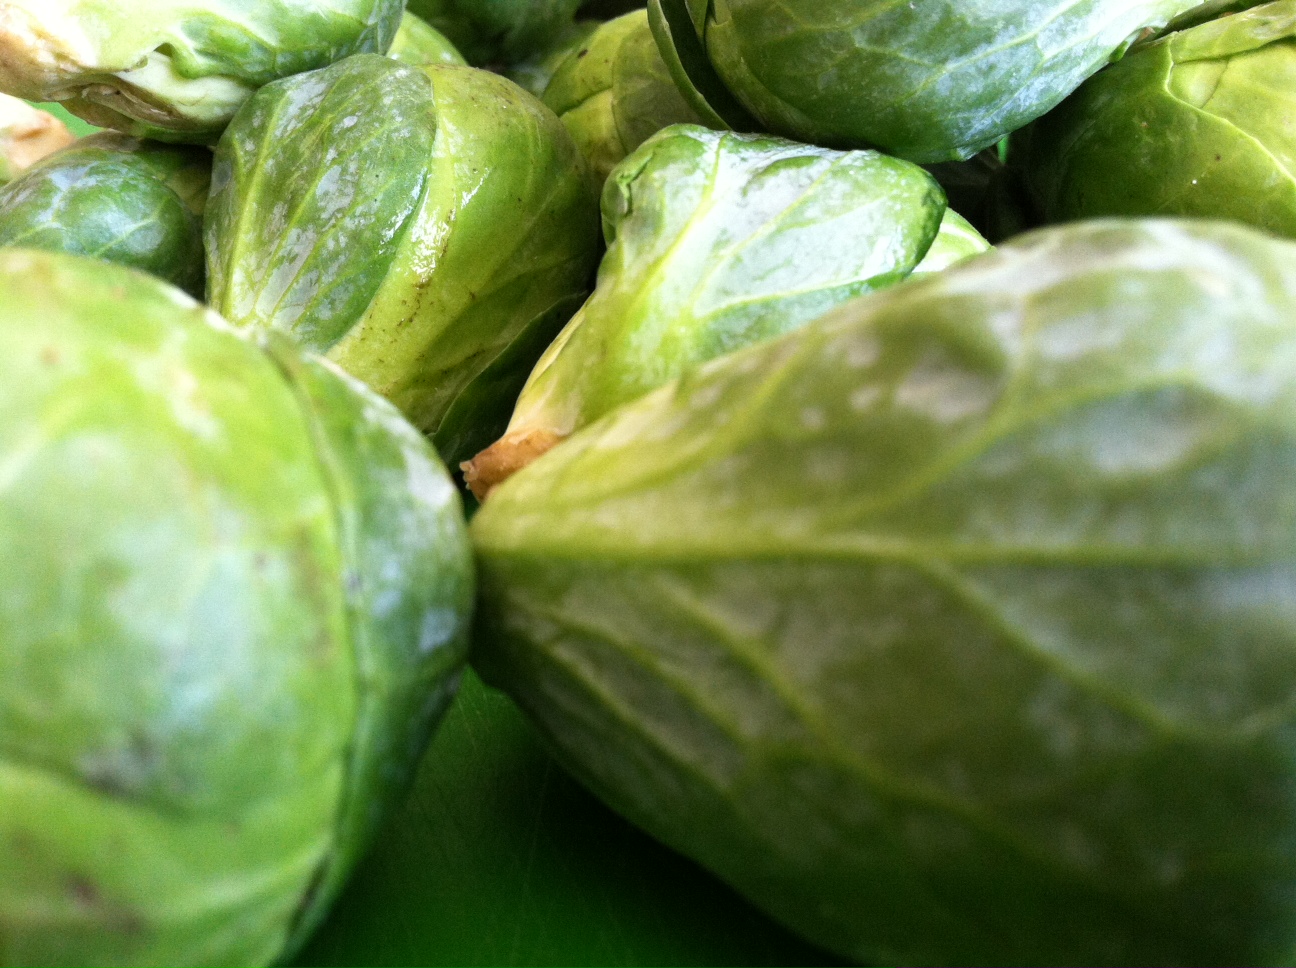
Start with whole brussels sprouts. We buy our sprouts fresh in a bag and ignore the fancy sprouts on the stalk because that just adds another weird step. Two bags of sprouts roasted will last two of us a full week for lunches and a couple of dinners each.
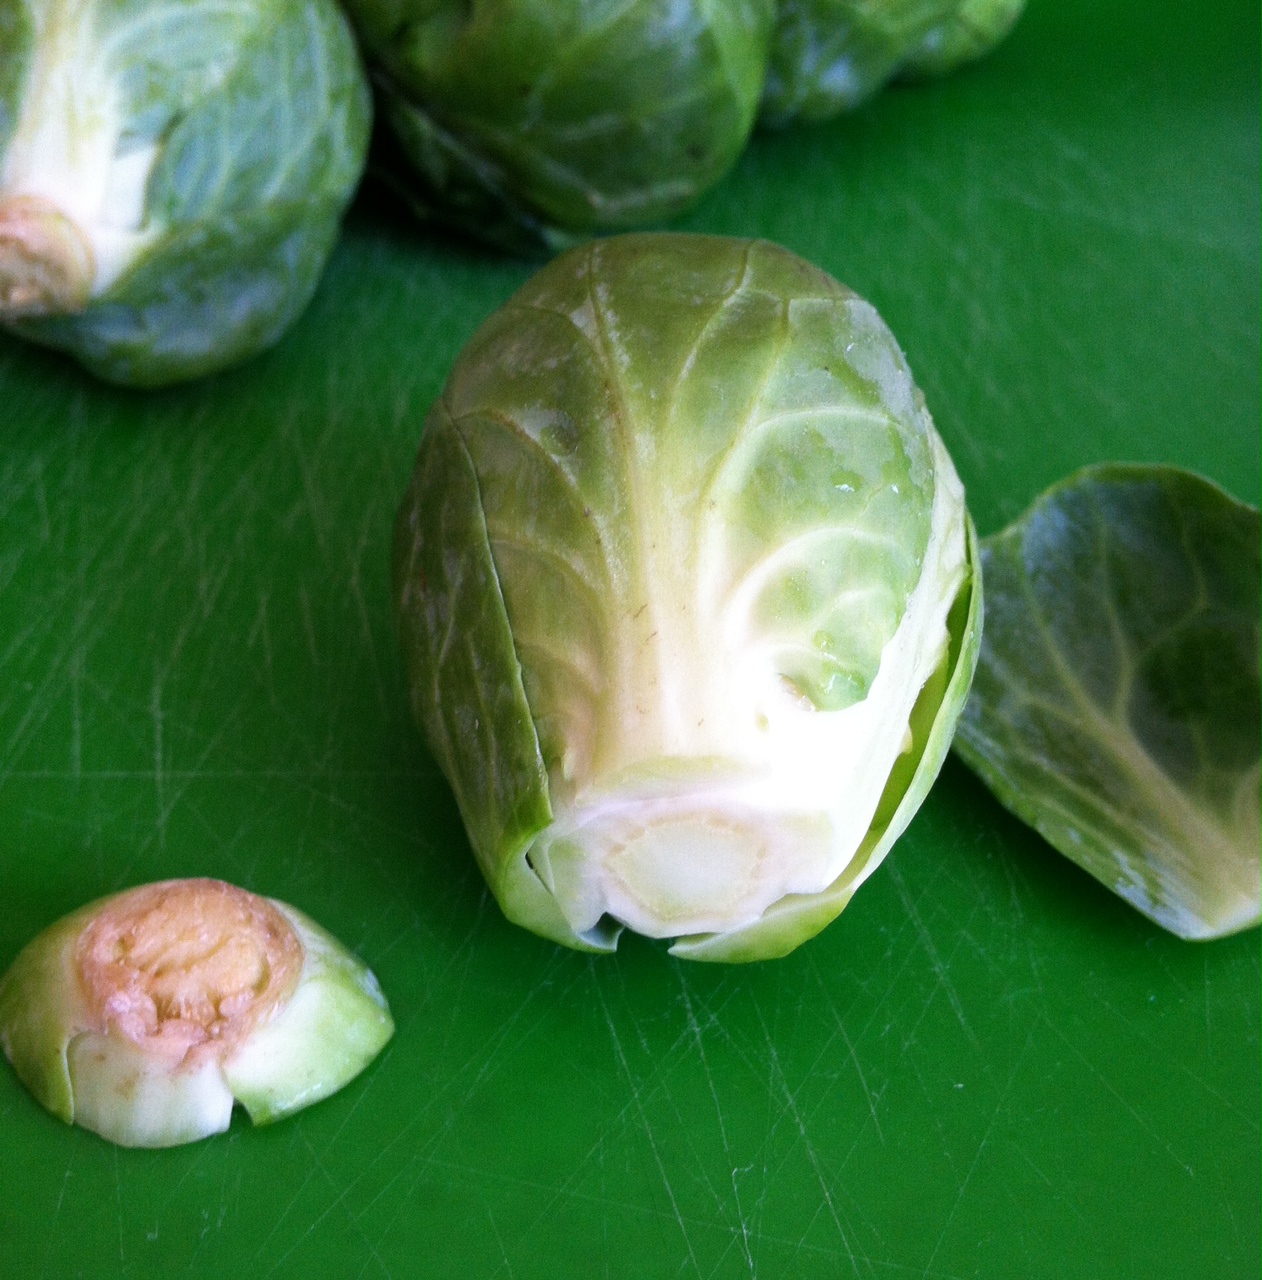
Preheat the oven to 375 degrees. Trim off the end of the sprout. Don’t panic if some of the outer leaves come off in the process.
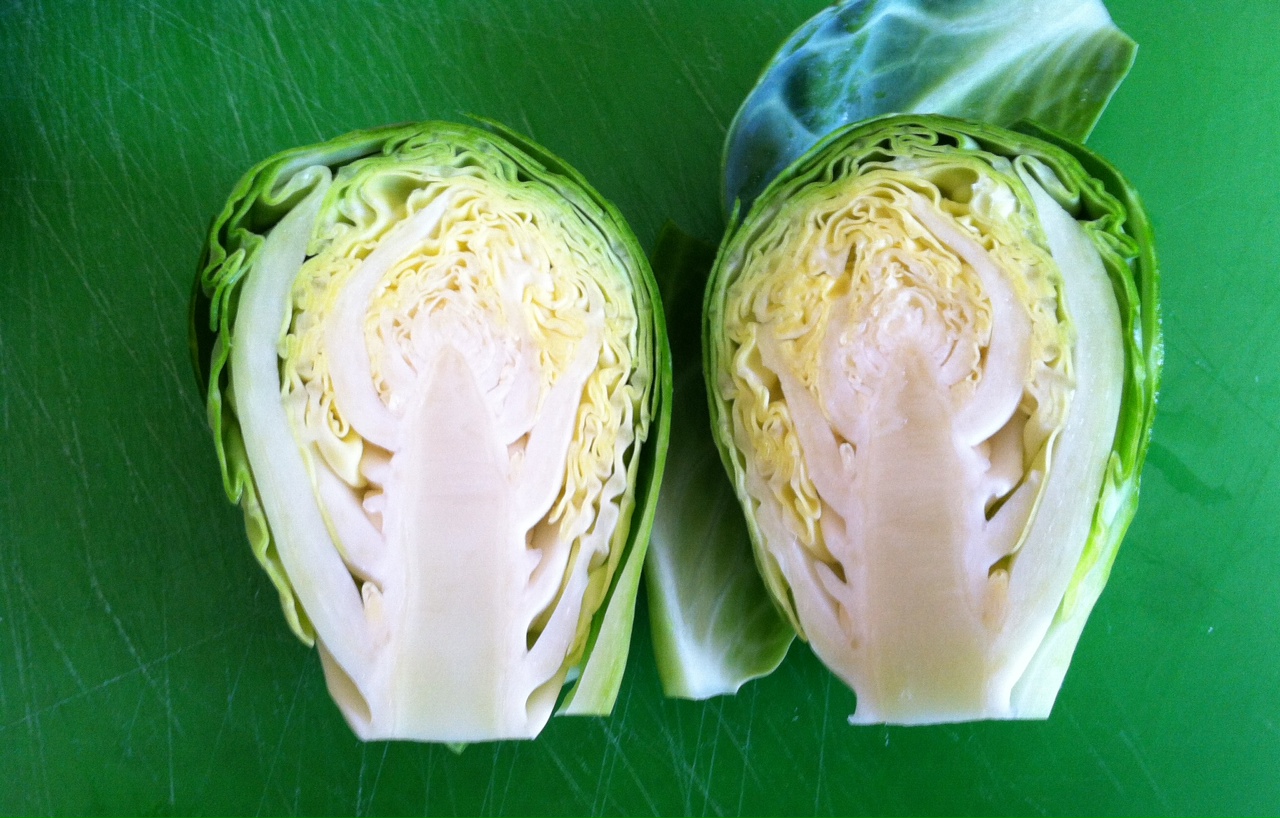
Cut each sprout in half. Remove the excess leaves that are falling, off as well as any leaves that may be damaged. I like to put the sprouts in a colander as I cut. Once all the sprouts have been cut in half and the extra leaves have been removed rinse them well under cold water and let them drain.
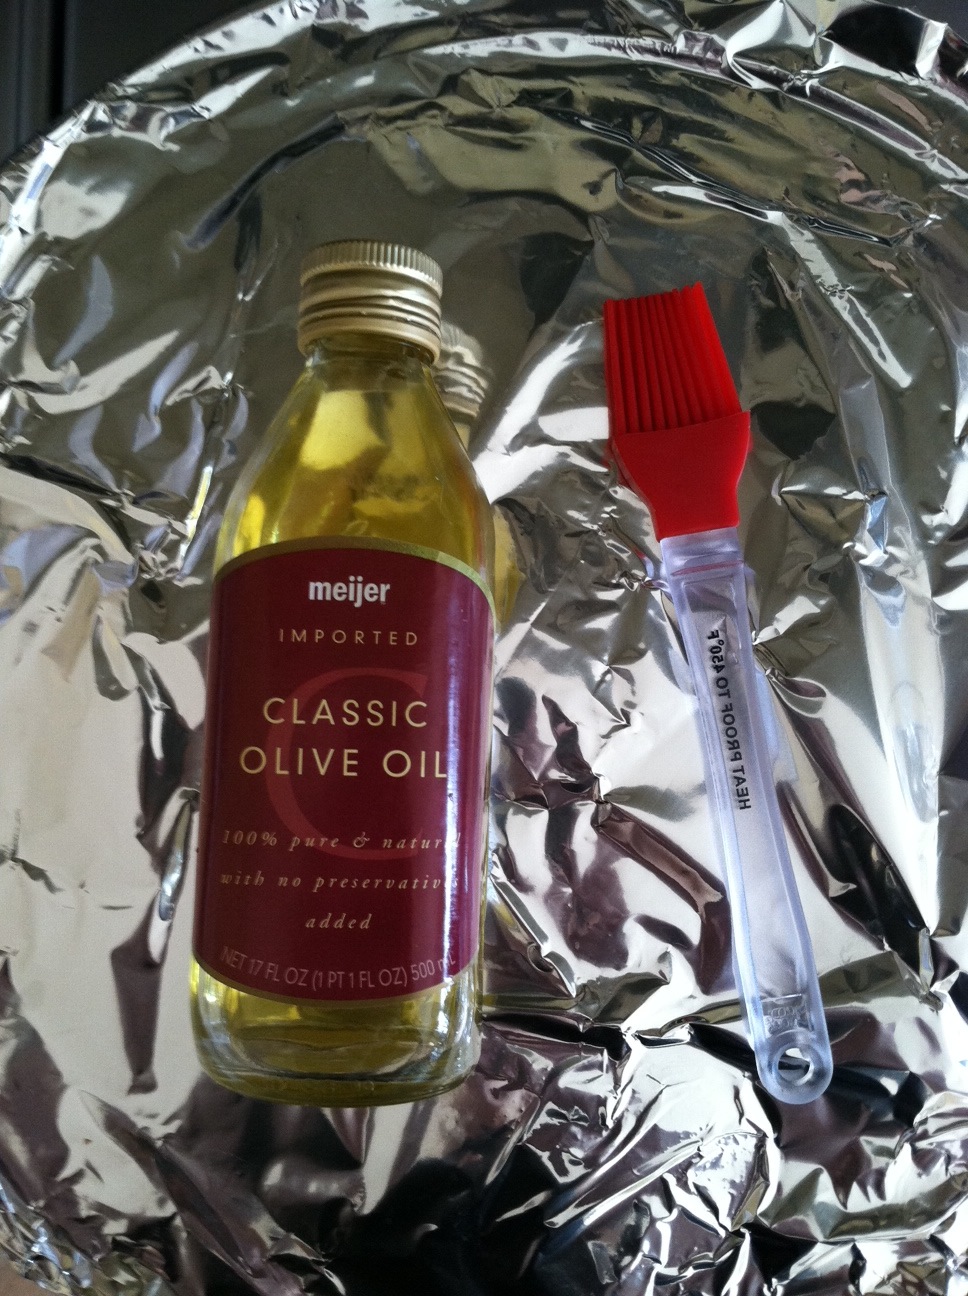
I’m lazy, so I cover my pan with heavy foil, which it is optional and recyclable, but the olive oil is not. Put a small amount of olive oil in the middle of your pan and brush it around. It is very important to not use too much. In fact using too little is better than using too much so always err on the side of not enough olive oil. If you don’t have a brush you can use your fingers.

Place your cut and clean sprouts on the pan. I like to put mine all the same direction, but honestly it doesn’t matter. Now you can sprinkle sea salt and pepper or any seasoning of your choice. We don’t use anything. Everybody in the pool! Set the timer for 10 minutes.
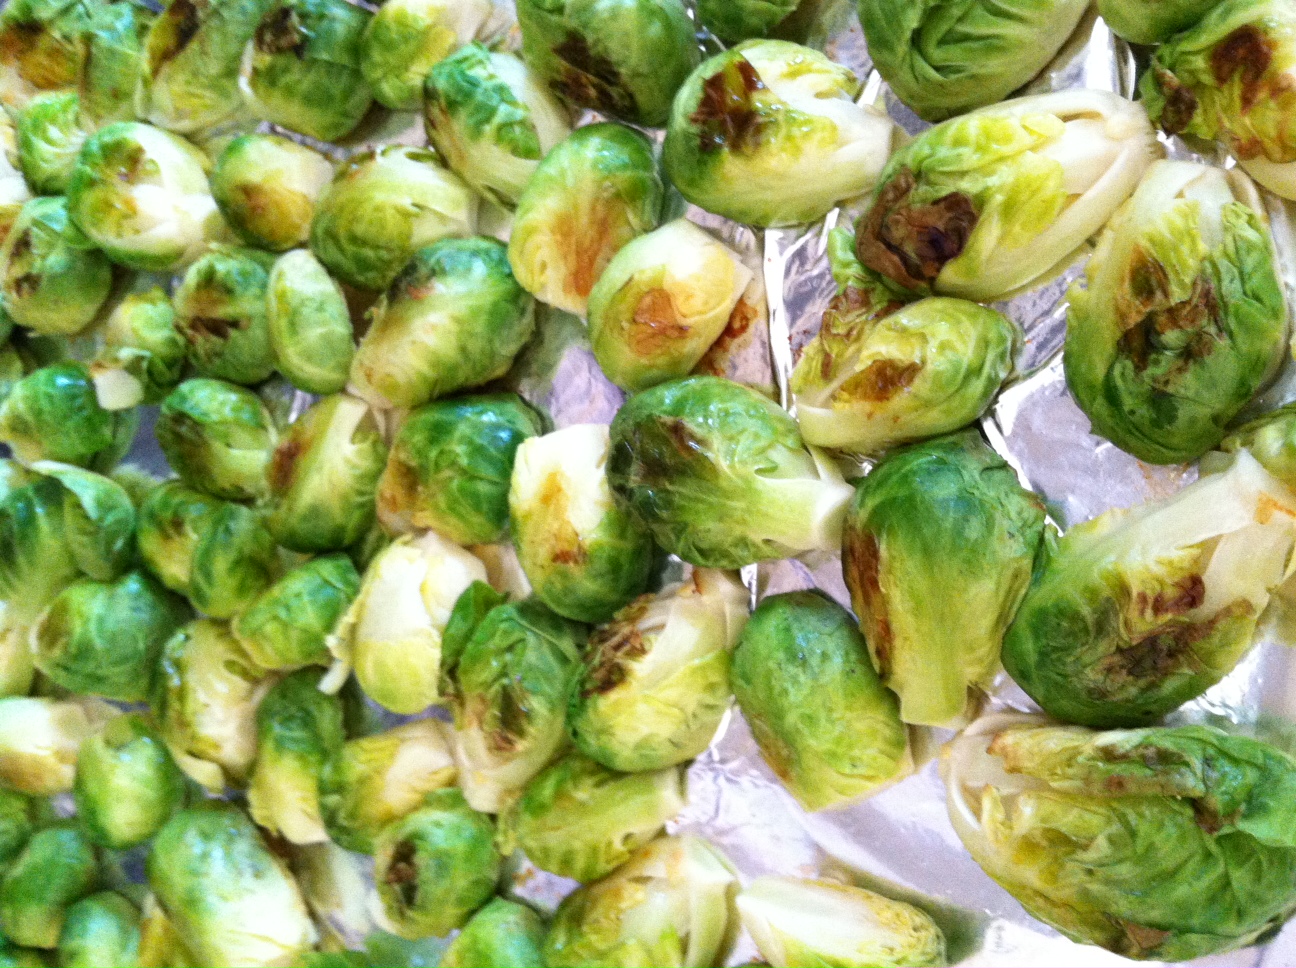 When the timer sounds it’s time to flip. Your sprouts should be brown on the side that was facing down, so make sure to flip each sprout. Over time I’ve found that tongs work the best for flipping the sprouts over. After all the sprouts are turned, place them back in the oven for 10 more minutes. We like our sprouts a bit crunchy, so keep cooking in 3 to 5 minute increments until they are cooked to your satisfaction.
Cooled sprouts can go into lunch containers or be stored in large plastic or glass containers in the refrigerator for a week. We reheat our sprouts in the microwave for 30 to 40 seconds with brown rice and chicken and they are perfect. I’m not sure if that squirrel from all those years ago would favor my roasted brussels sprouts when it turned its nose up at Grandma B’s, but I like to think I might have the upper hand. Maybe I’ll do a squirrel taste test of my own this summer, but this time Instagram and Twitter will be there so I can photograph my findings and send them to my Dad.
About The Author
Nicole
Member of Team VP, knitter and Mama to Blue and Franks. Life, is bloody good.