The task of ironing divides people into two groups, those that absolutely despise it, and those that adore it. I quite frankly don’t mind it, most of the time, usually. I do a lot of ironing because Mr. MVP has a very grown-up job. He wears Oxford shirts, linen pants and a tie to work every day, which means every stitch of clothing has to be pressed before he goes out the door.
(http://integrallifedesign.com)
We’ve sent Mr. MVP’s clothes out to the dry cleaners when I was really sick and it cost *gasp* $50 for six shirts. The dry cleaners were either using magic fairy dust on the buttons that I was not aware of or we were not getting a very good deal. I have ironing down to an art form and I can iron a button down shirt in under three minutes. As there are lots of different ways to iron a shirt, I thought I’d share my favorite way to get the job done. Man my life is exciting.
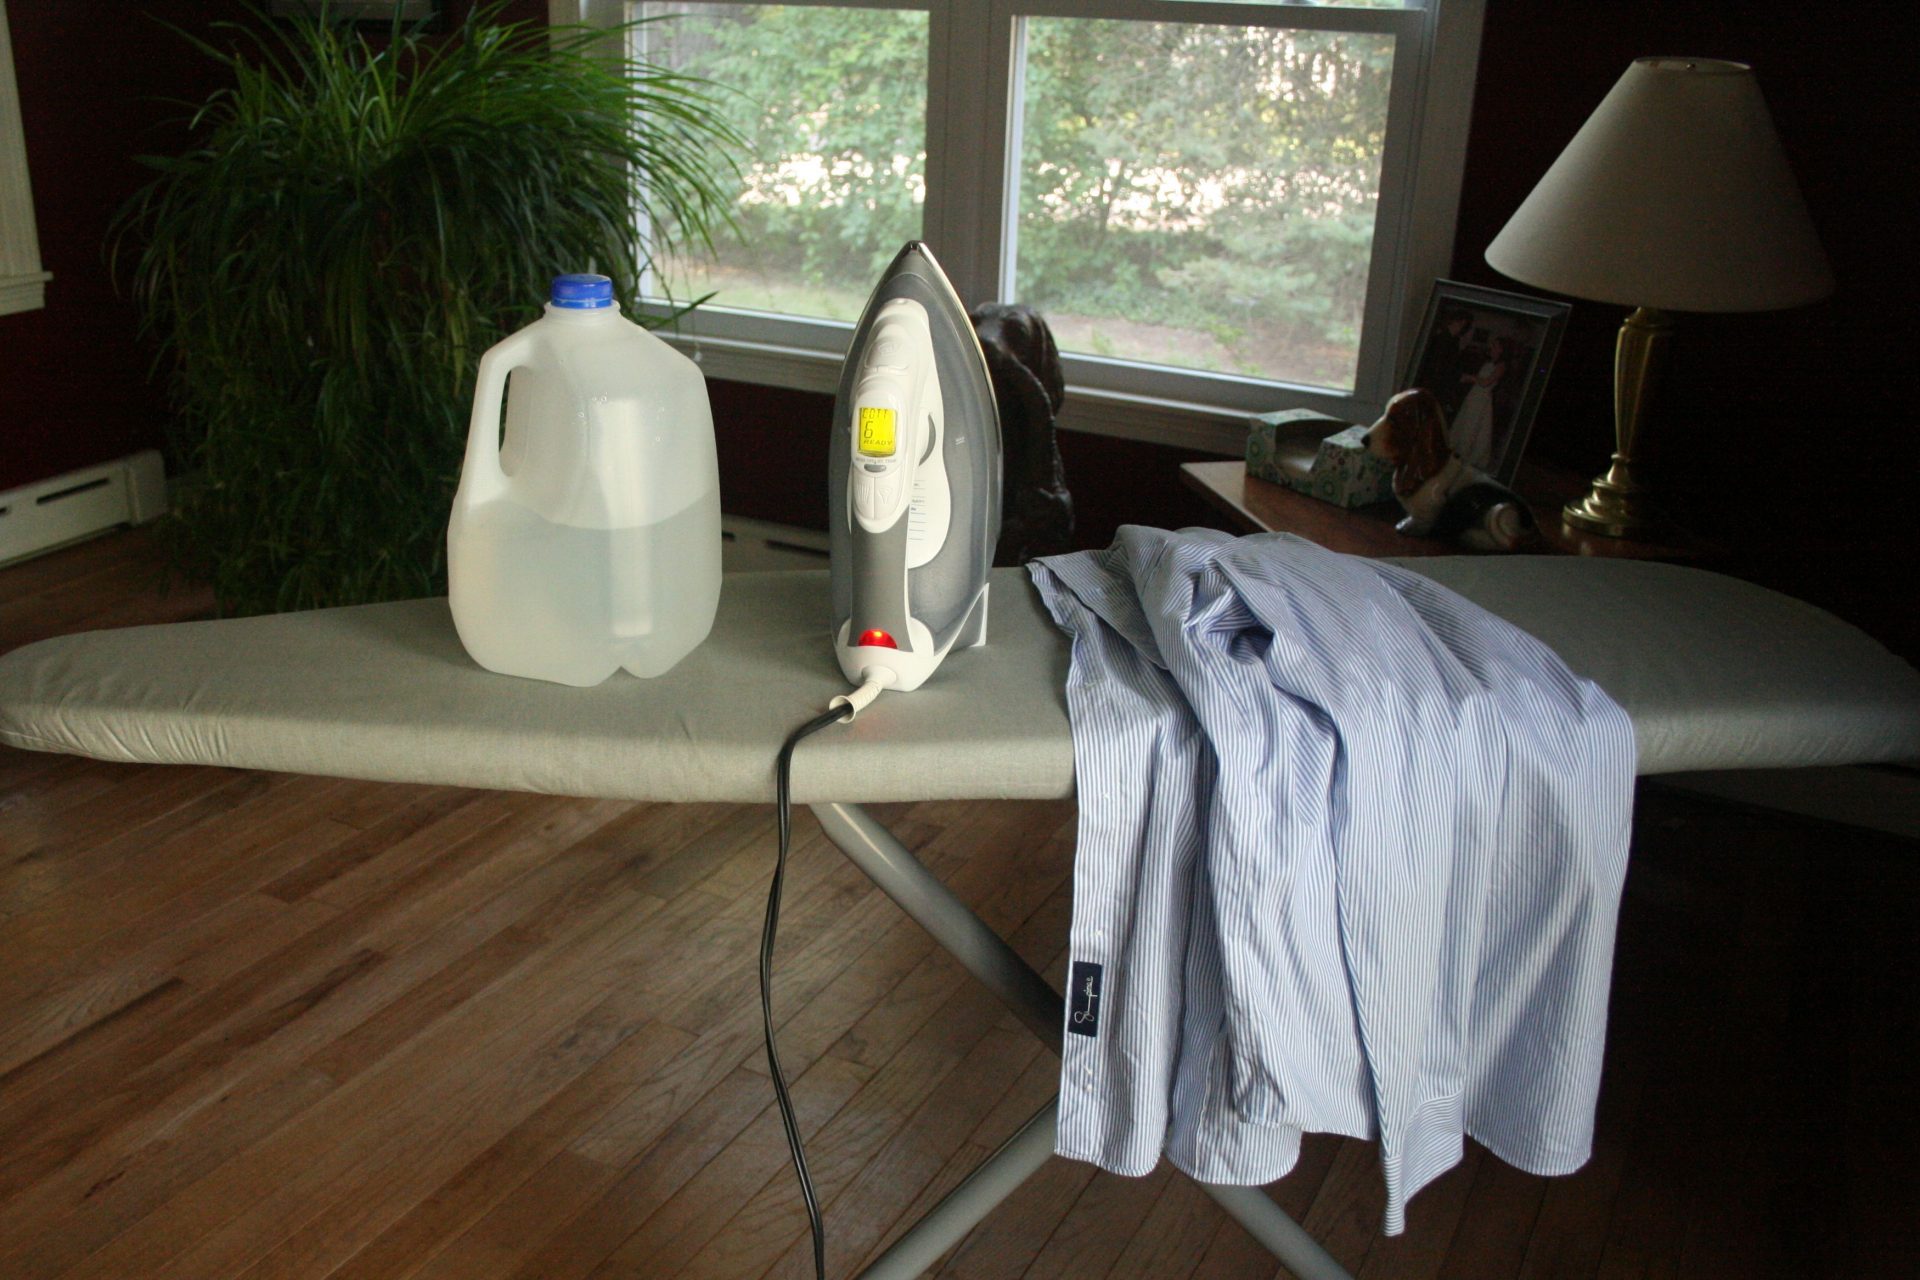
To start with you need the right tools for the job. An ironing board with a good cover helps a lot. I recommend a cover with a silicone coating as it’s scorch resistant and it helps conduct heat so you can easily iron two sides of a garment at once. Your iron will, of course, help too. My iron is a mid-range Black and Decker, which I purchased because it has excellent steam functions, auto cleaning and it is incredibly light. I really love my iron. Even though my iron has a filter built in for tap water, I only use distilled water because then I don’t have to worry about hard water build up. The last thing you will need is a wrinkly shirt. If you don’t have any I’ve always got a few extra laying around.
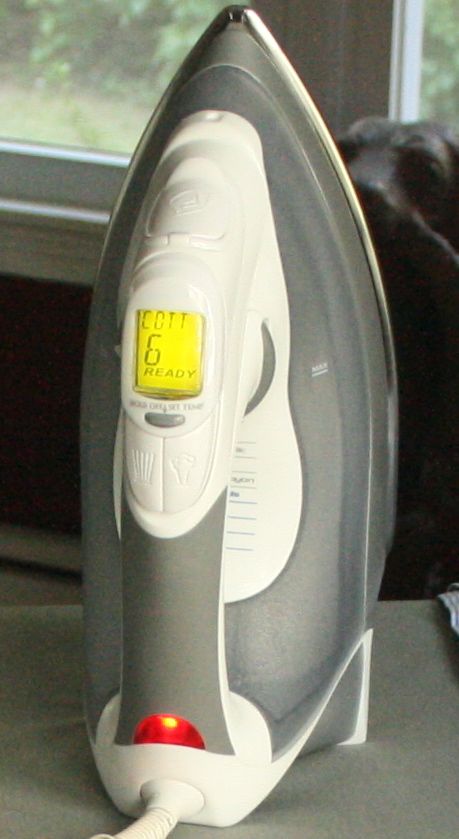
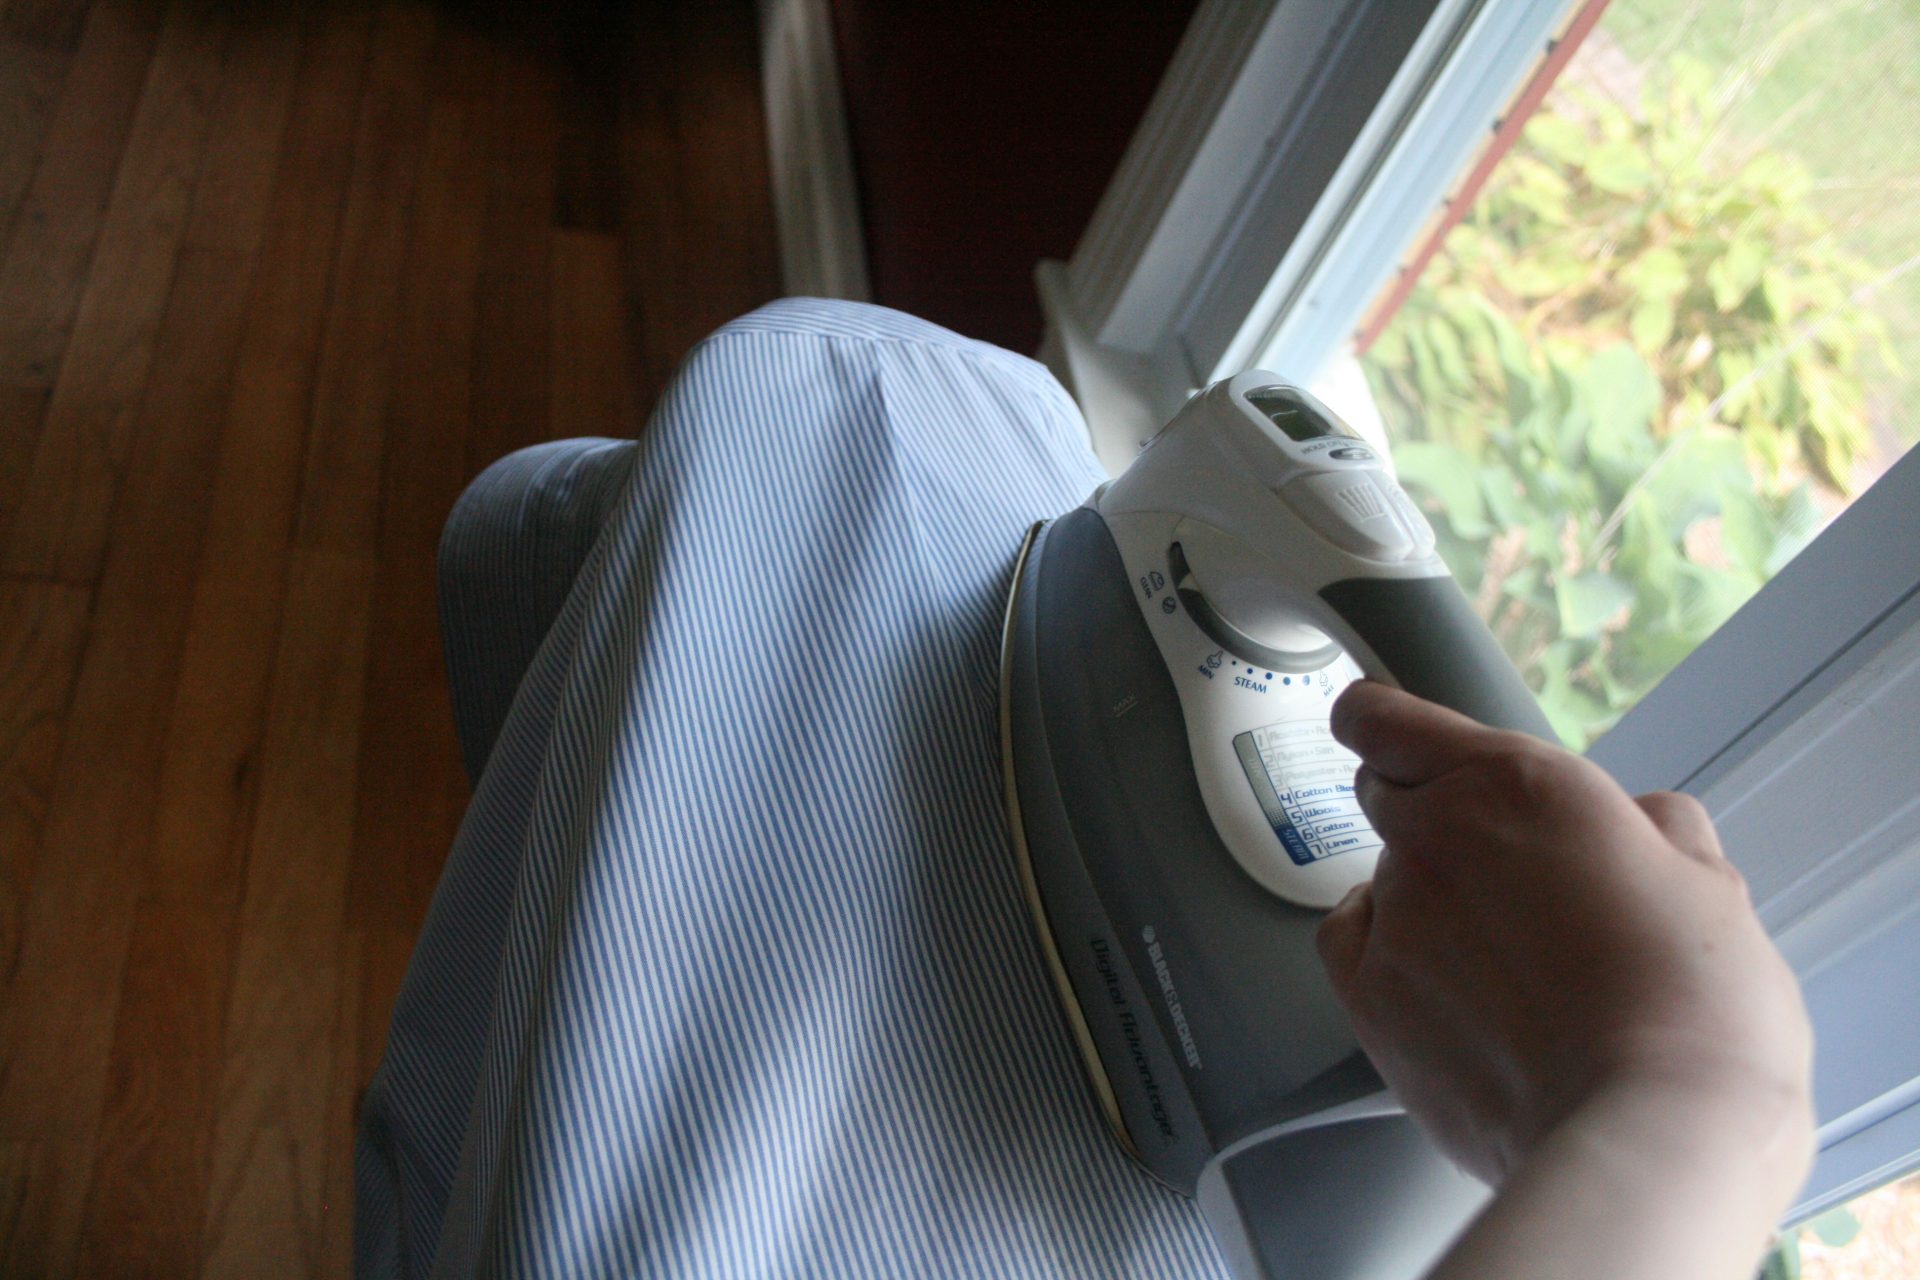
Obviously you will need to turn your iron on and set it on the appropriate setting. I am ironing a supima cotton button down, so I set my iron to 6 and set the steam to high because I like a lot of steam. I filled the water reservoir up with distilled water and waited for the green light to flash. If you are working with linen you can set your iron hotter, if you are working with wool, set your iron cooler. Most irons have settings for specific fibers, so you’re going to have to read the labels.
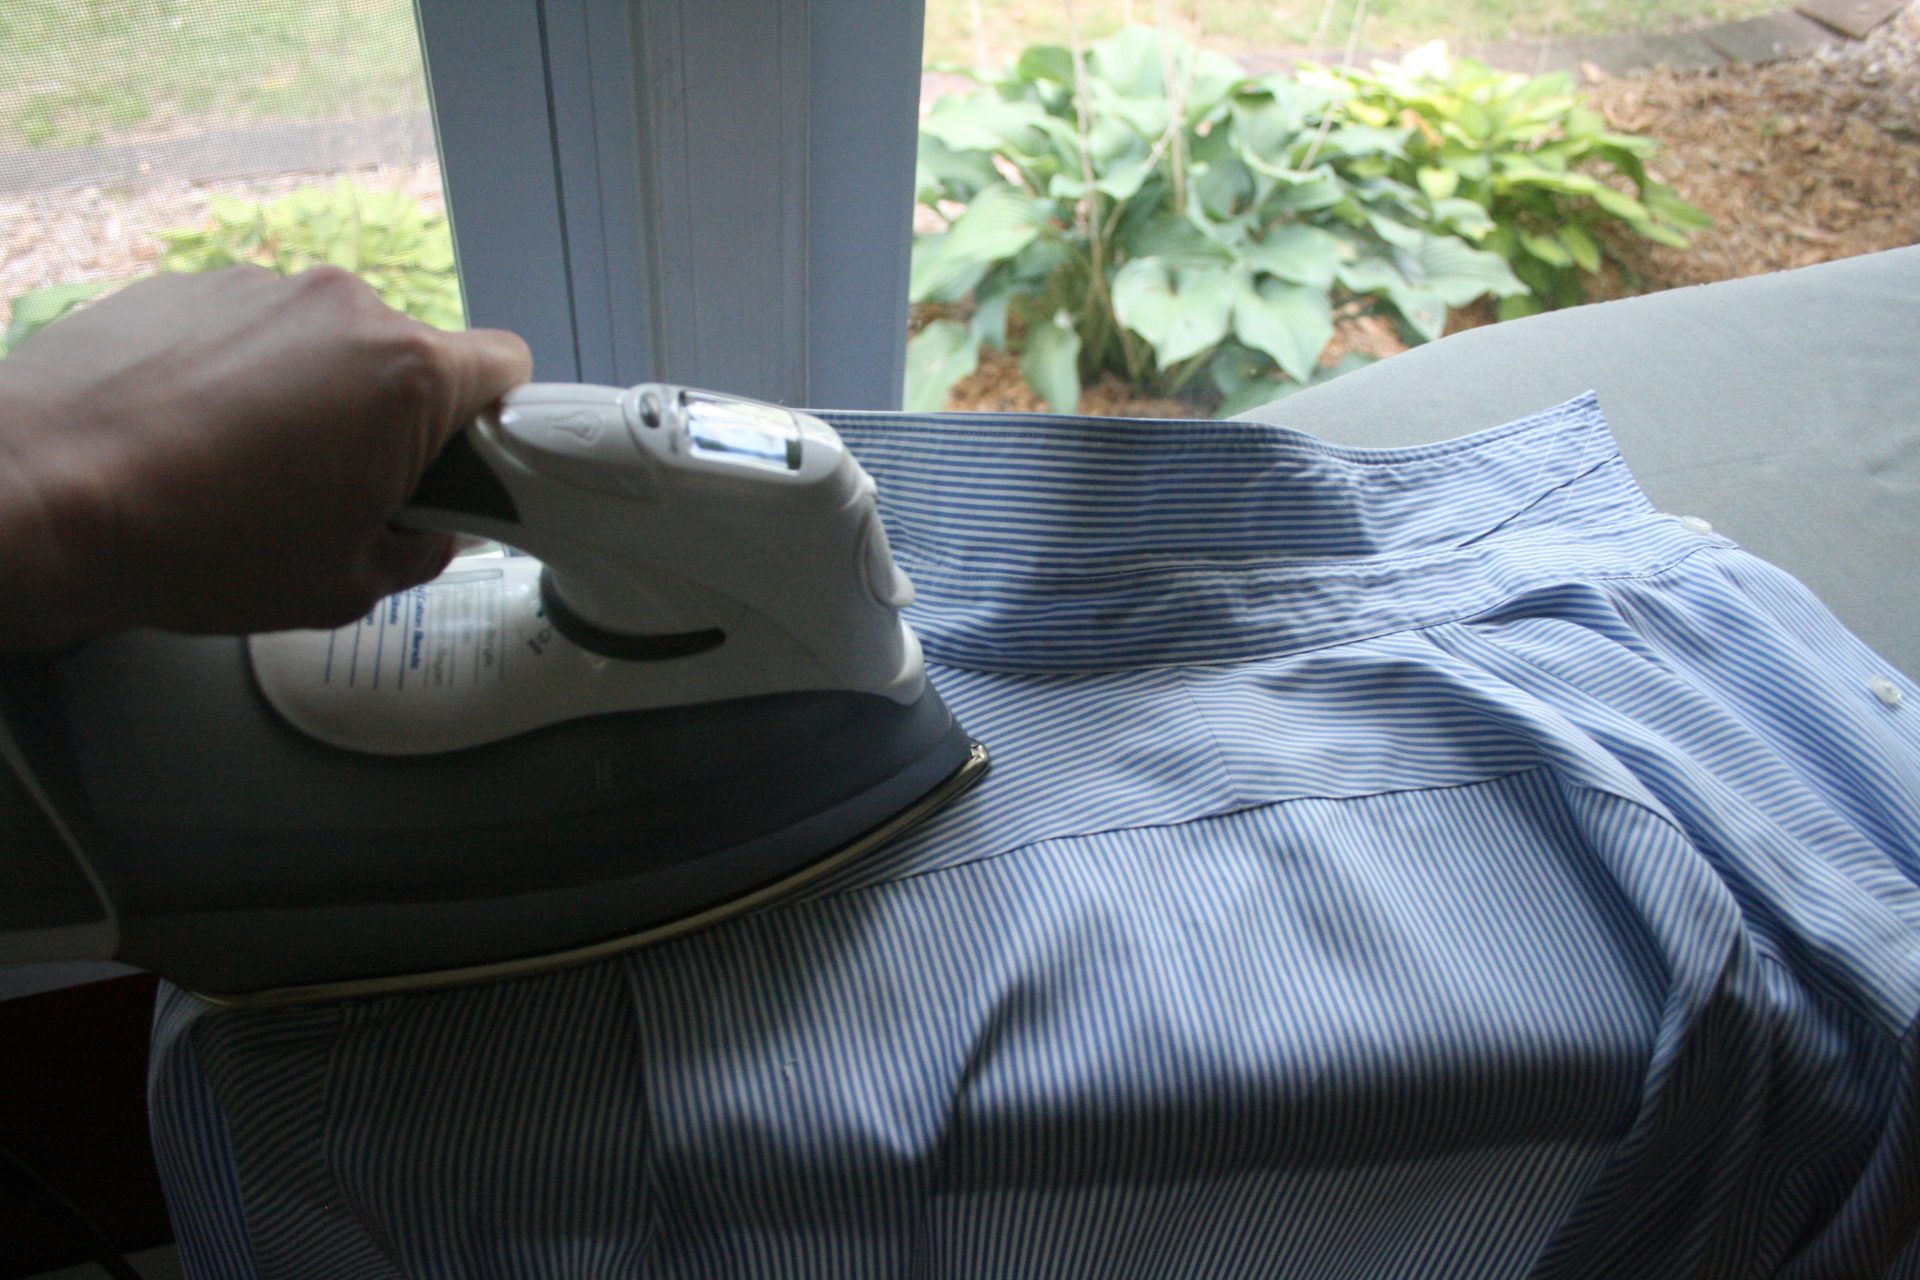
When I’m ironing a shirt I start at the top and work my way down, out and around. It works for me. You’ll want to start with the collar. Flatten it out on the ironing board. I usually put it tag side facing down, but it honestly does not matter. The trick here is to pull gently on the collar with one hand while you’re ironing with the other making sure to not burn your pulling hand. While you’re ironing make sure to apply pressure with the heel or fat end of the iron and not the tip to decrease the chance of any crinkles in your shirt.
I don’t have four hands, so I’m taking this photo and ironing and my imaginary friend is pulling.
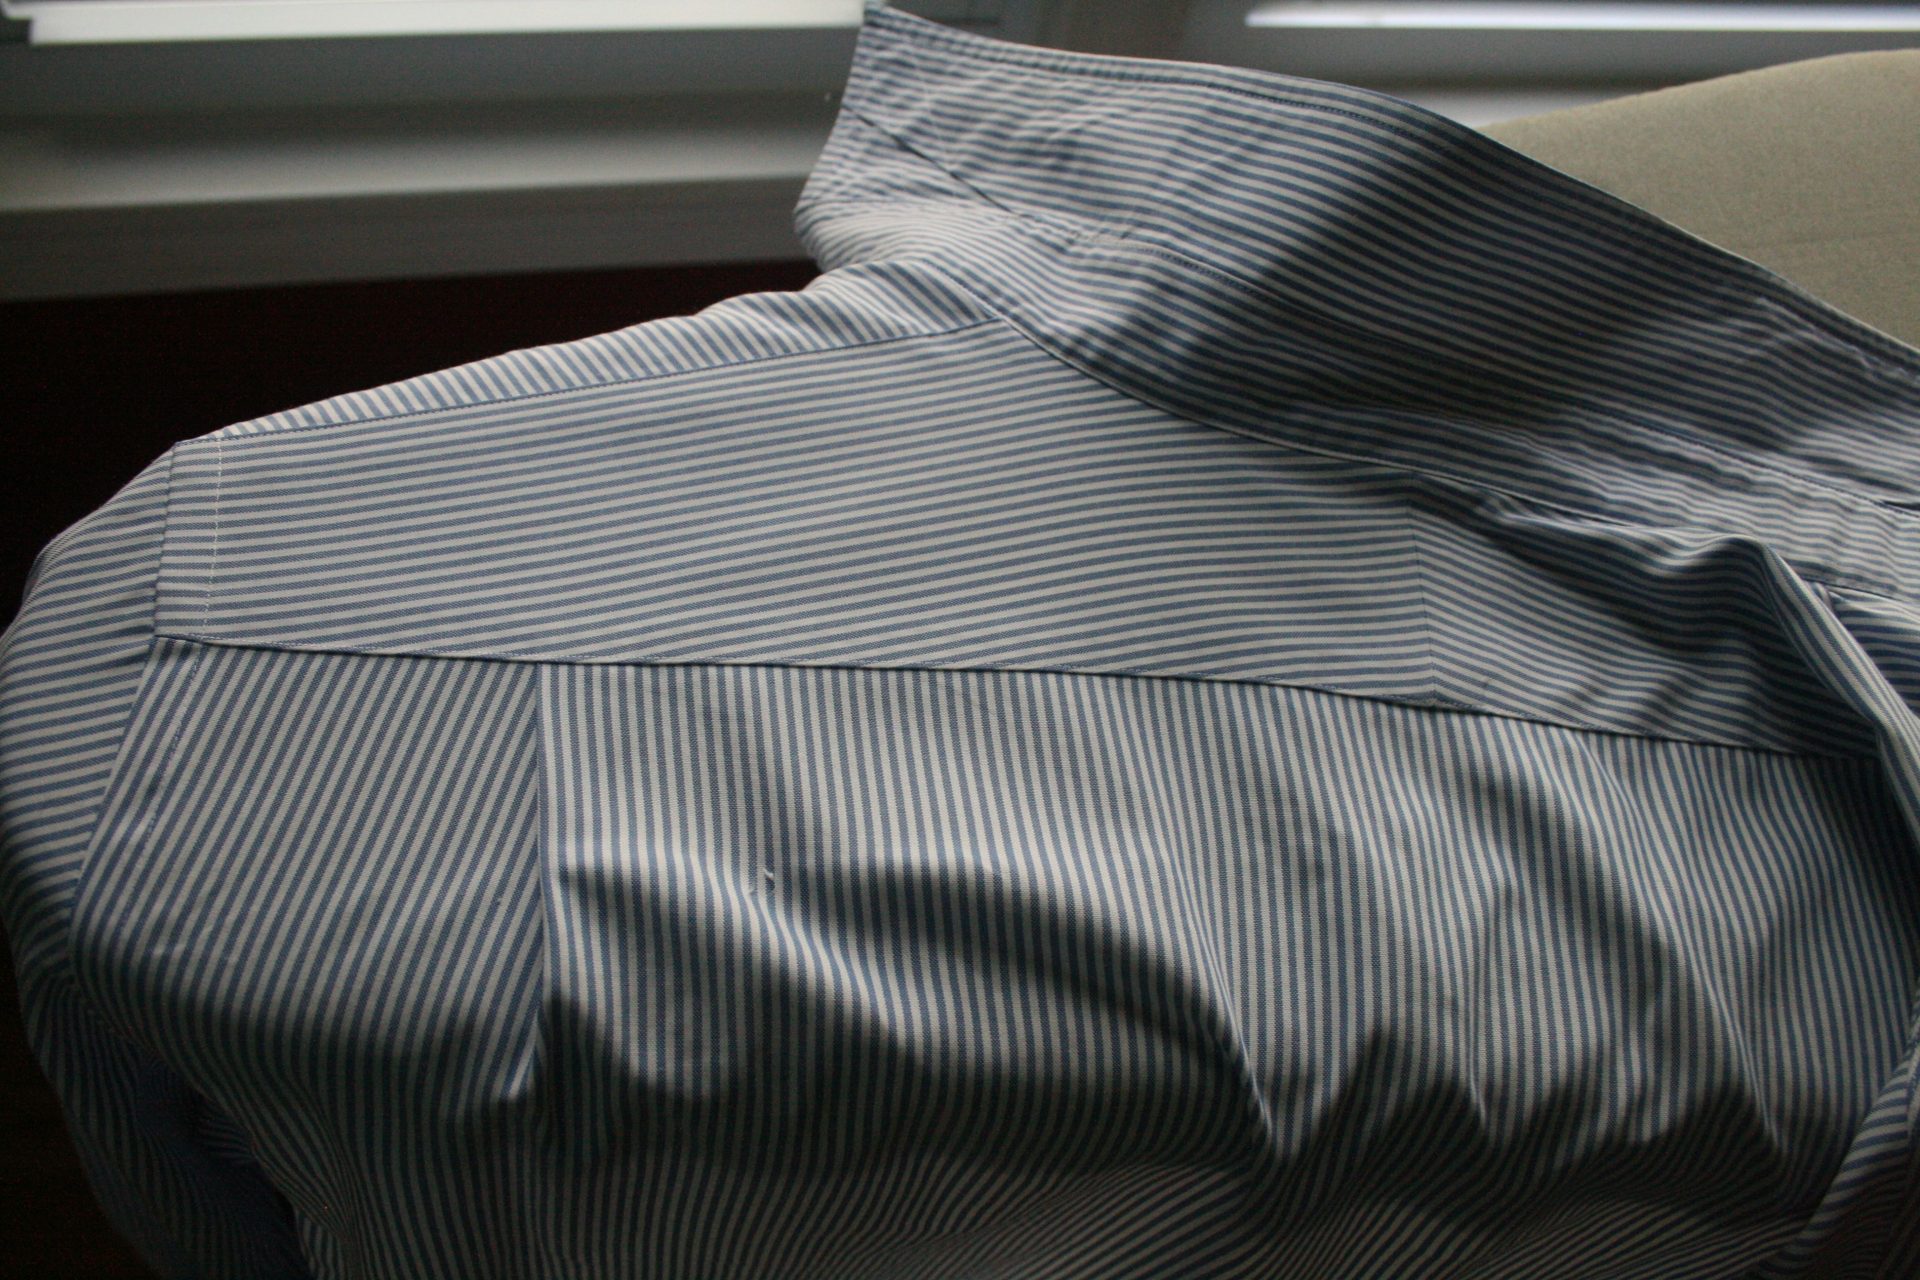
After the collar I iron the yoke of the shirt, or this weird part under the collar:
 Use the end of ironing board as a tool. Your shirt will fit snuggly over it. Don’t forget to add pressure to the heel of the iron to avoid crinkles and keep pulling with your opposite hand. Now turn the shirt around, tuck the other shoulder into the end of the ironing board and iron the other side of the yoke.
As my Dad would say, “Now you’re logging!”
Next you want to lay one sleeve out flat on the ironing board making sure there is enough room for the entire sleeve. Then smooth out all the lumps and bumps making sure the seam at the bottom of the sleeve is lined up correctly. Lots of people like to undo the cuff or get fancy and pull the sleeve over the end of ironing board, but I am here to tell you there is no need for that. Using your proper ironing technique of pressure on the heel and pulling with the opposite hand, simply iron your sleeve starting at the shoulder and ending at the cuff. Like magic both sides will be pressed in about 15 seconds flat. Sorry, I couldn’t resist an ironing pun. Turn your shirt over the repeat the process for the other sleeve.
Onward and upward.
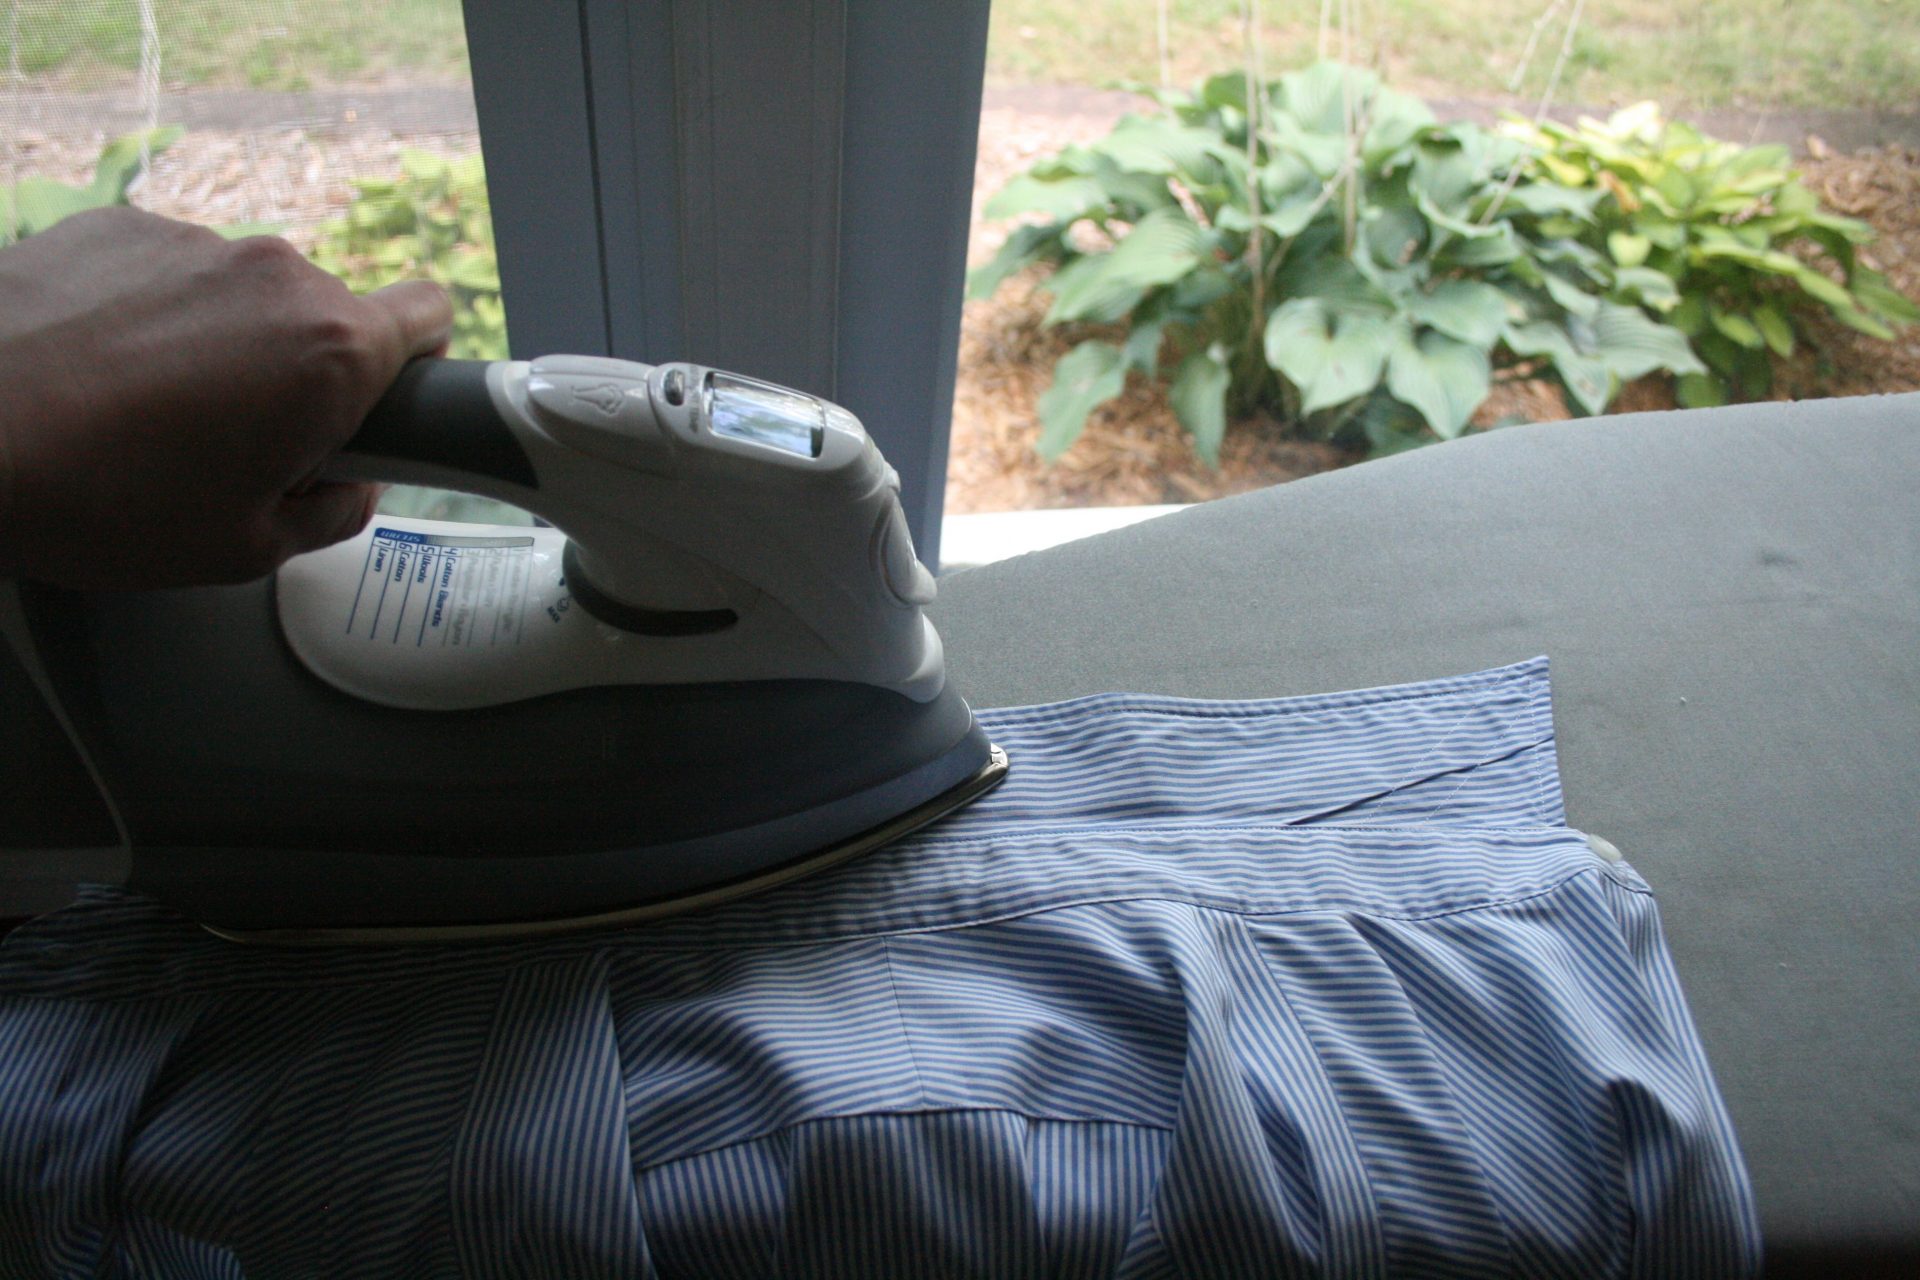
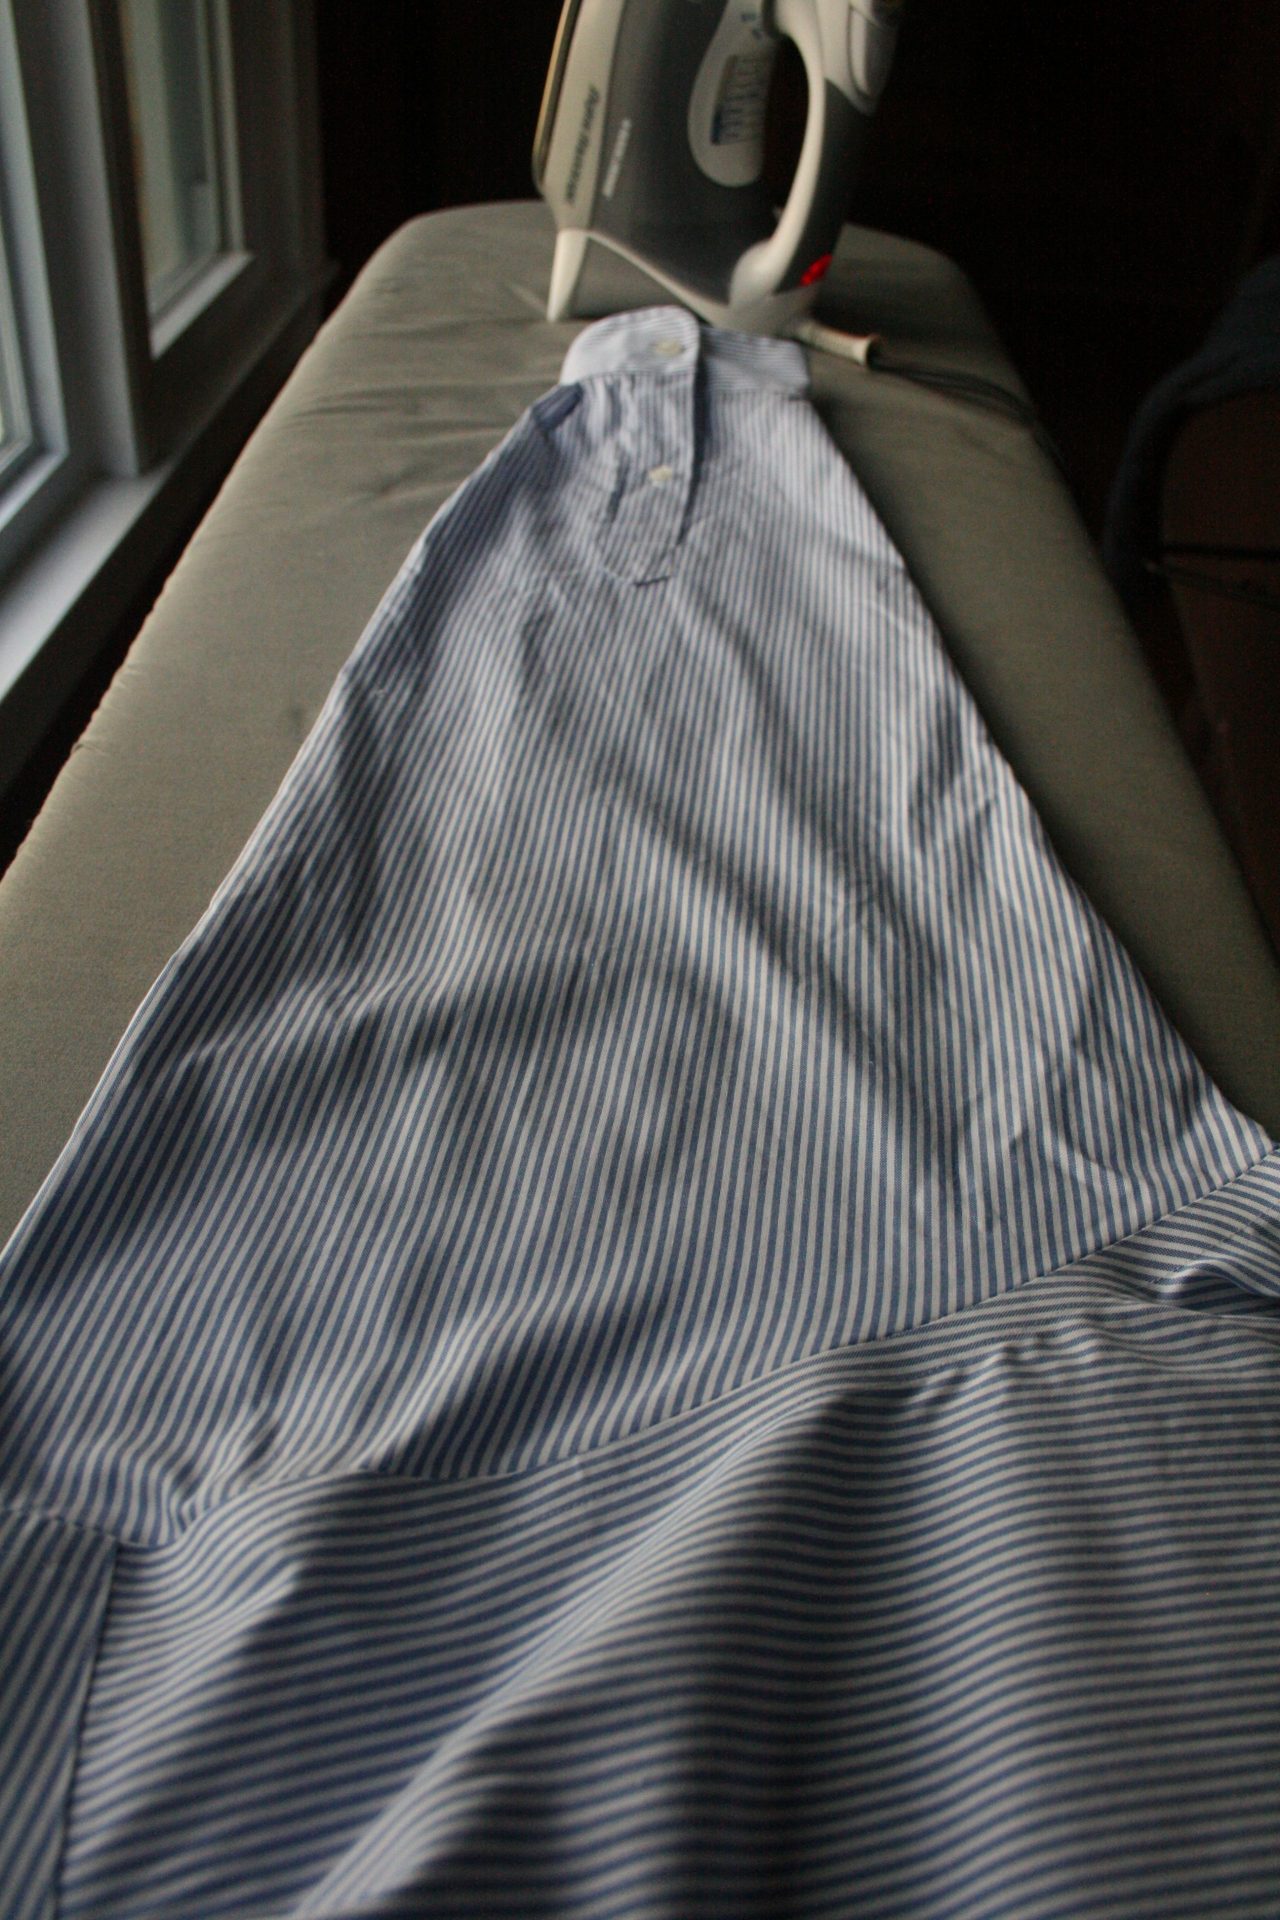
 Take your shirt and put the top of one sleeve so it’s sticking out the tip of the ironing board to give you access to the shoulder of your shirt. Now, use your mad ironing skills to iron the shoulder remembering to run your iron in between the buttons and on the fabric on the outside of the buttons (see below).
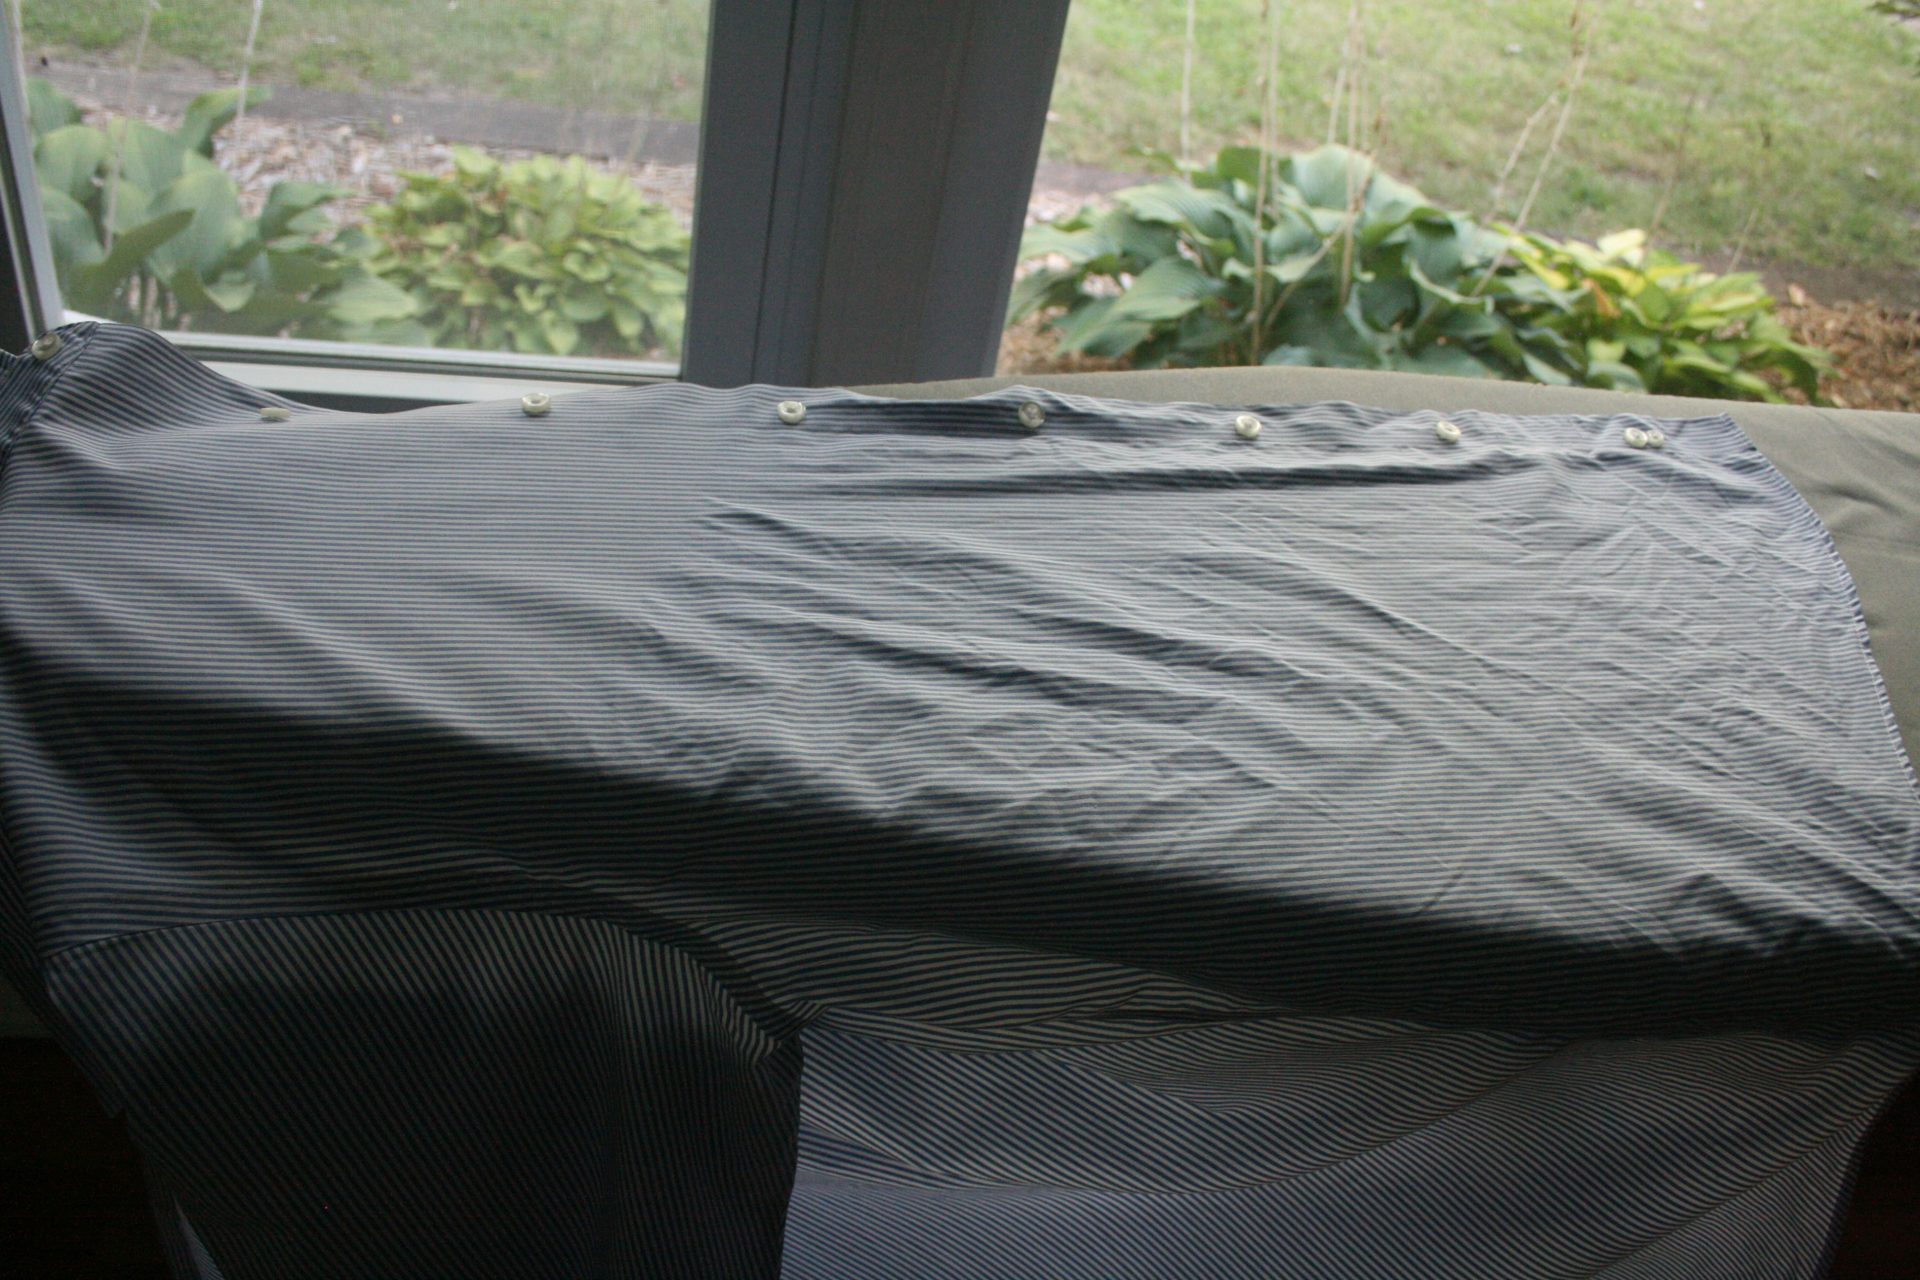
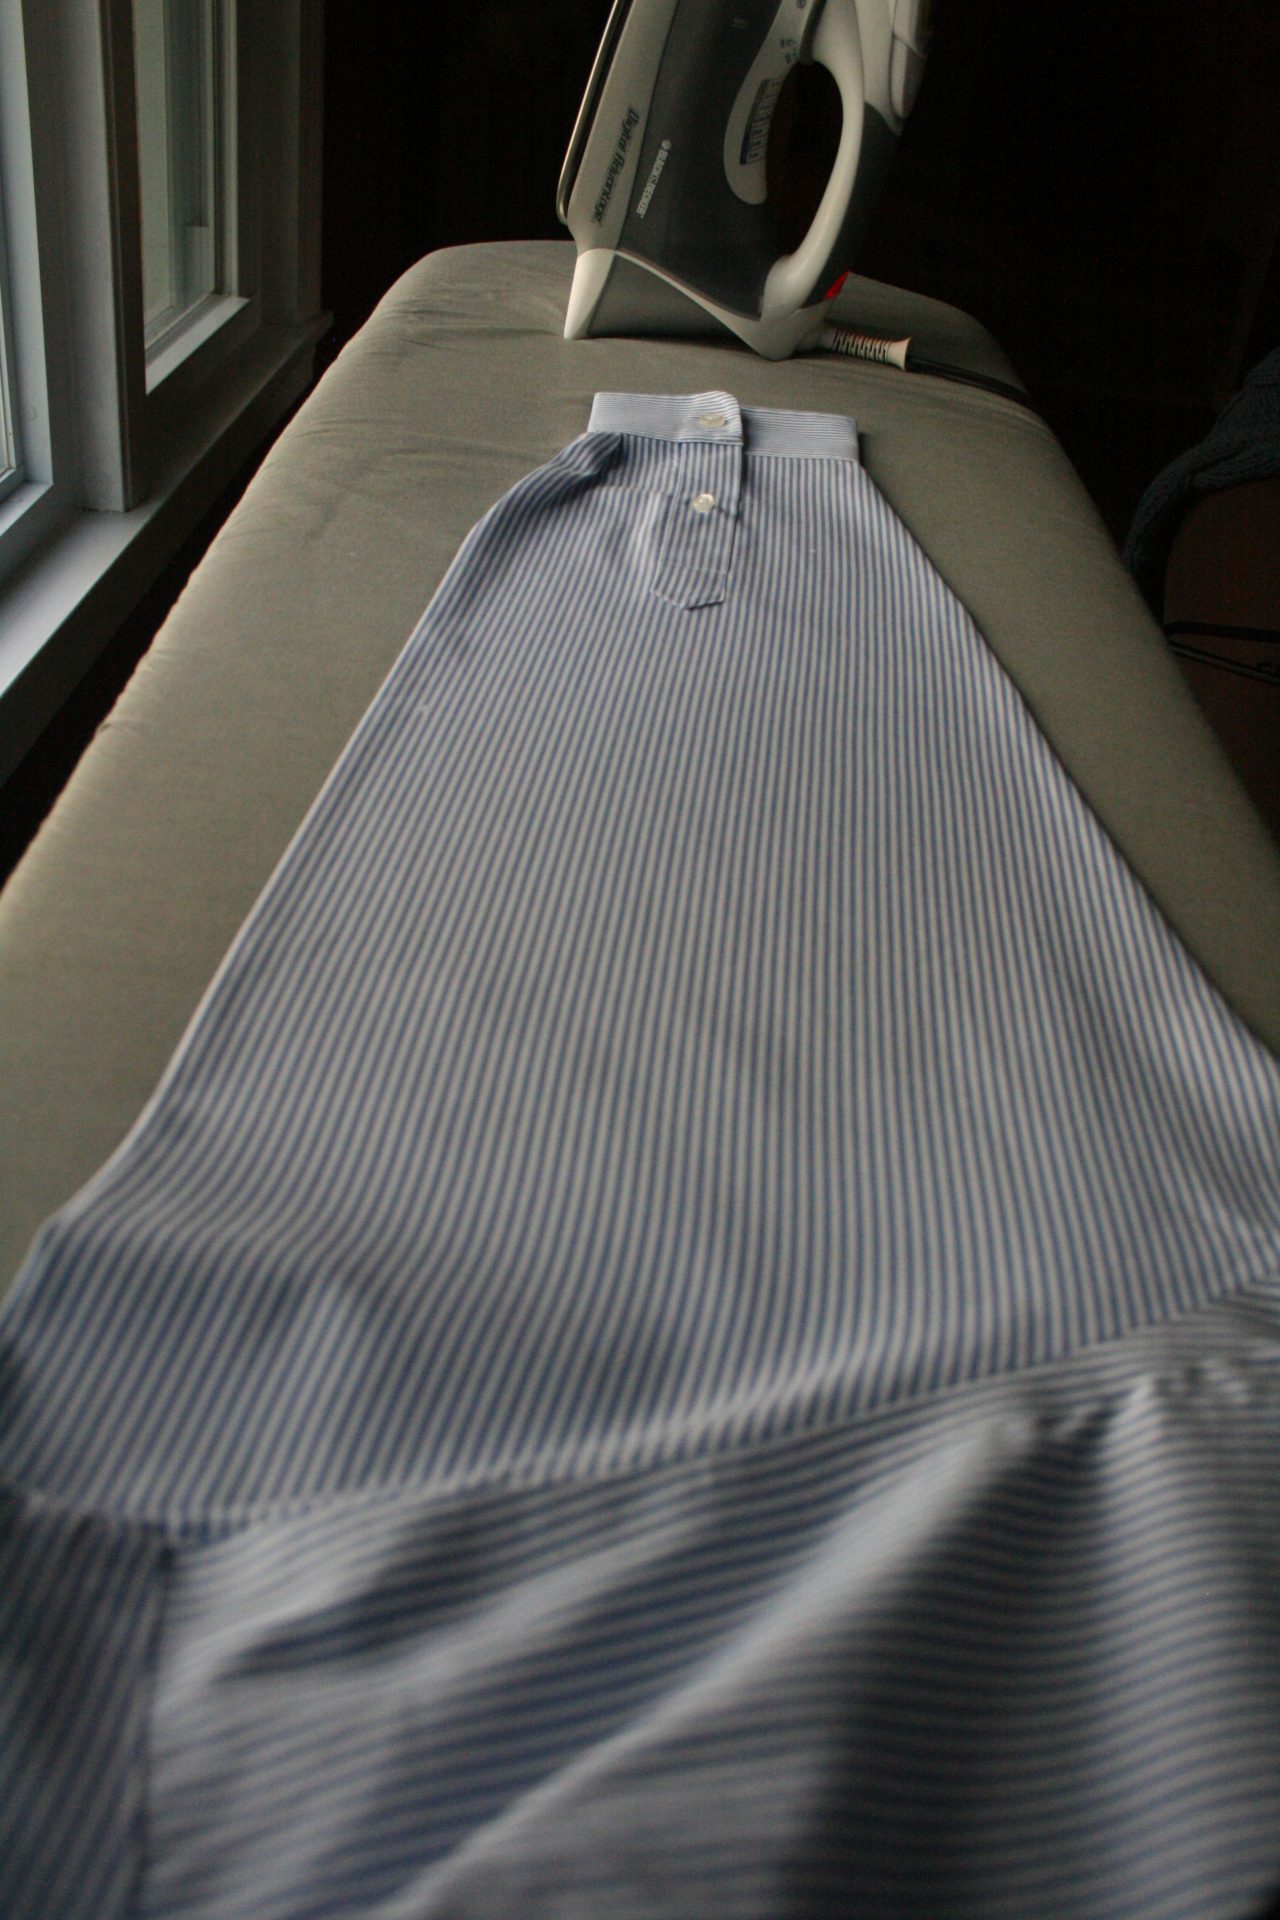
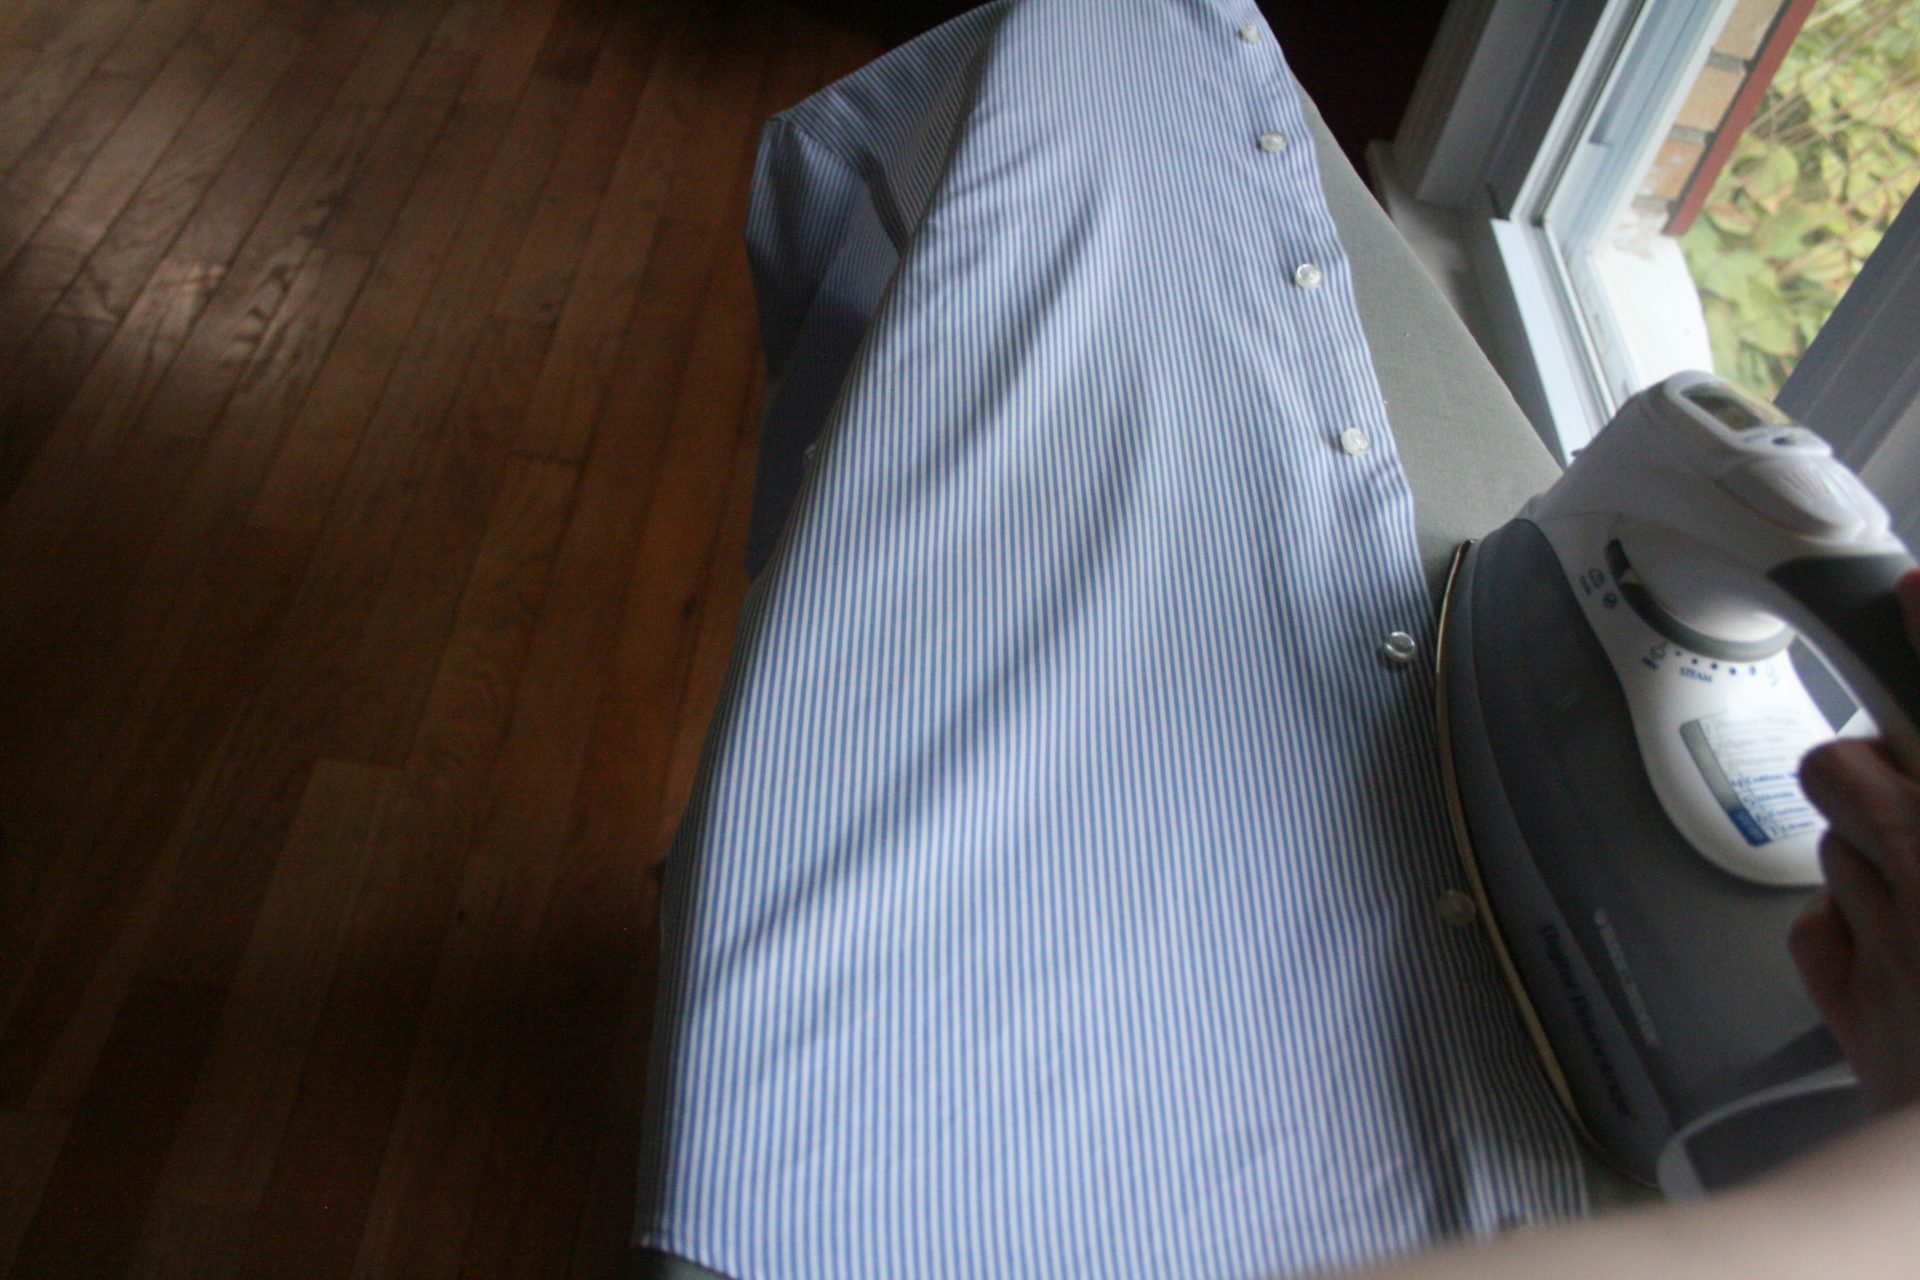
Now, twist your shirt around so the entire front is on the ironing board. You can see that the shoulder of my shirt has been ironed, but the rest of the front has not. Simply continue ironing the front of the shirt remembering to iron in between the buttons and on the fabric on the outside of the buttons like this:
Excellent work ironing superstars, but you’re not done yet. Rotate your shirt so you can iron the back.
Keeping the pressure on the heel of the iron, while pulling on the bottom of the shirt keep ironing all the way around the back of the shirt using the tip of the ironing board as a tool. With your iron set hot and steamy enough you should not have any problems getting the toughest wrinkles out.

Now that you’ve finished the back adjust the shirt so the opposite front side is on the board and iron away. This side is easier because there are no buttons, but don’t forget to run your iron over the placket, or the button holes, so your shirt looks nice and tidy.
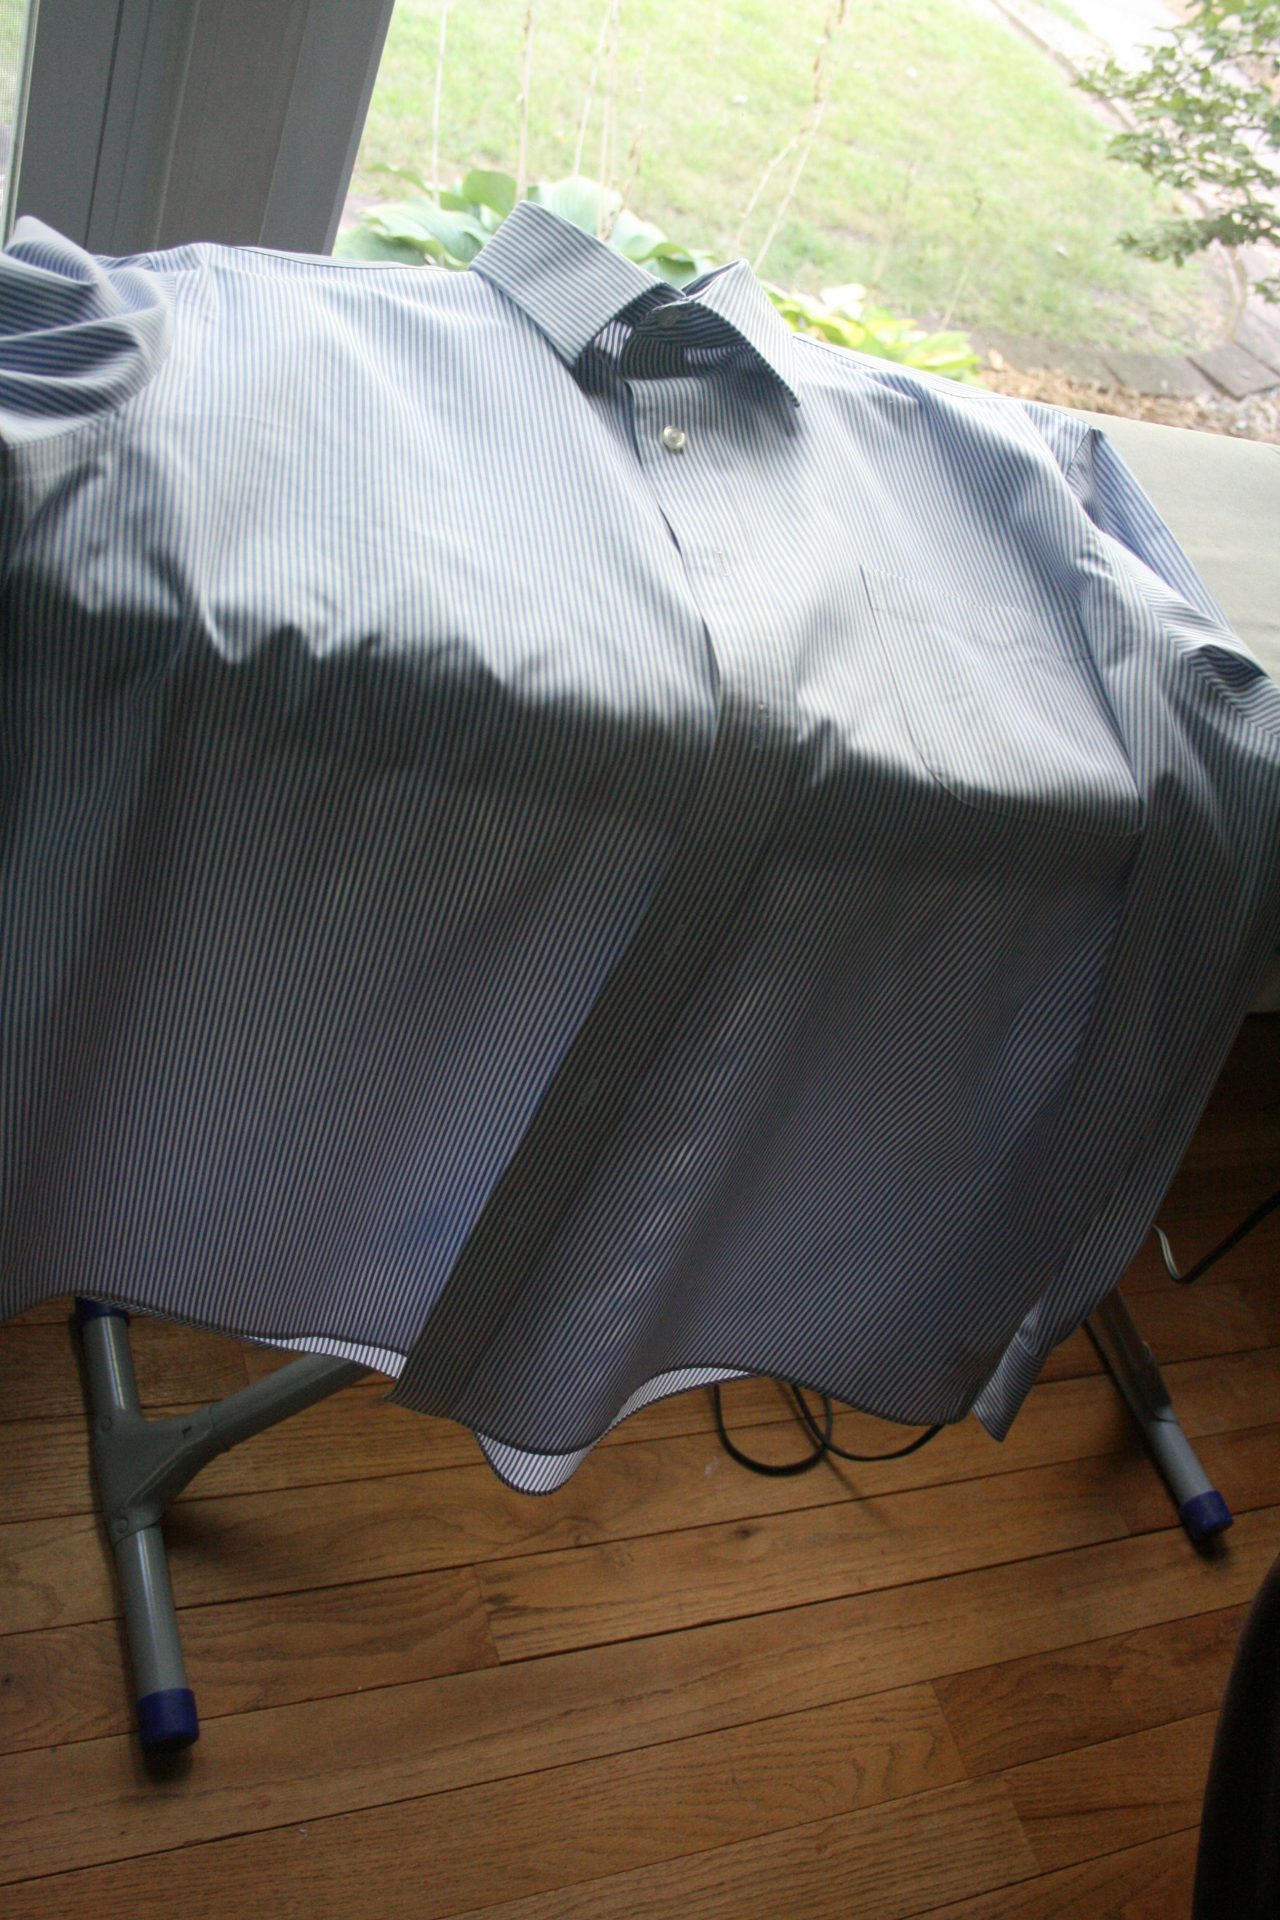
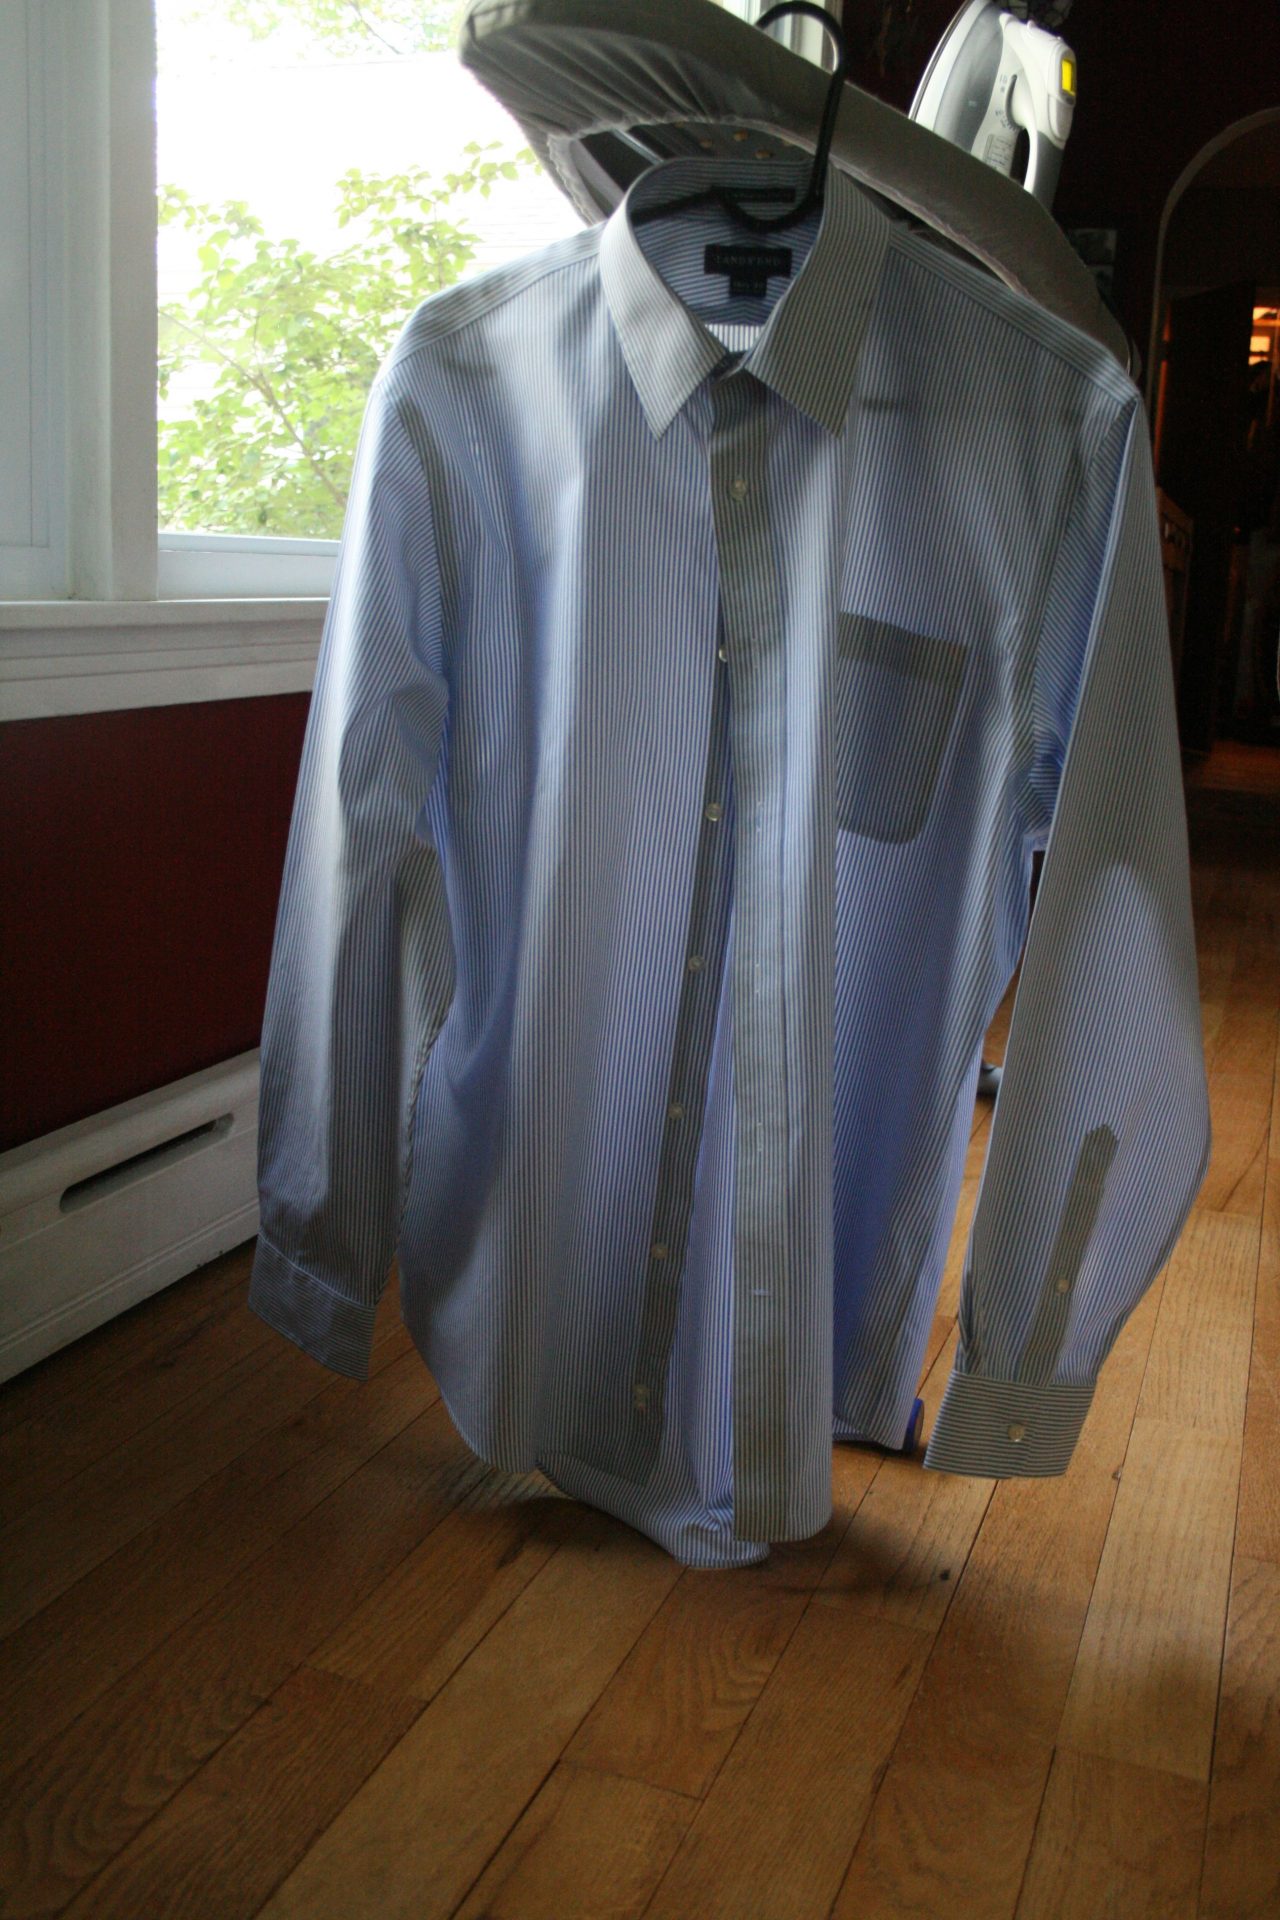
When you’re finished take your shirt and fight the urge to put it on your body immediately. A warm, newly pressed shirt needs to cool down before it goes out into the world, so button the top two buttons and put your shirt on a hanger for ten full minutes.
While you wait click here. When you’re done waiting put your shirt on and marvel at your achievement.
About The Author
Nicole
Member of Team VP, knitter and Mama to Blue and Franks. Life, is bloody good.