I’ve decided to squeeze as much writing out of these pumpkins as humanly possible, so today my friends, it’s a tiny bit about the jack-o-lantern. Just in case you missed it the first time through, there is some prep work that is mandatory before any of the carving business can commence. I appreciate we went through most of this before, but a good review never disappoints.
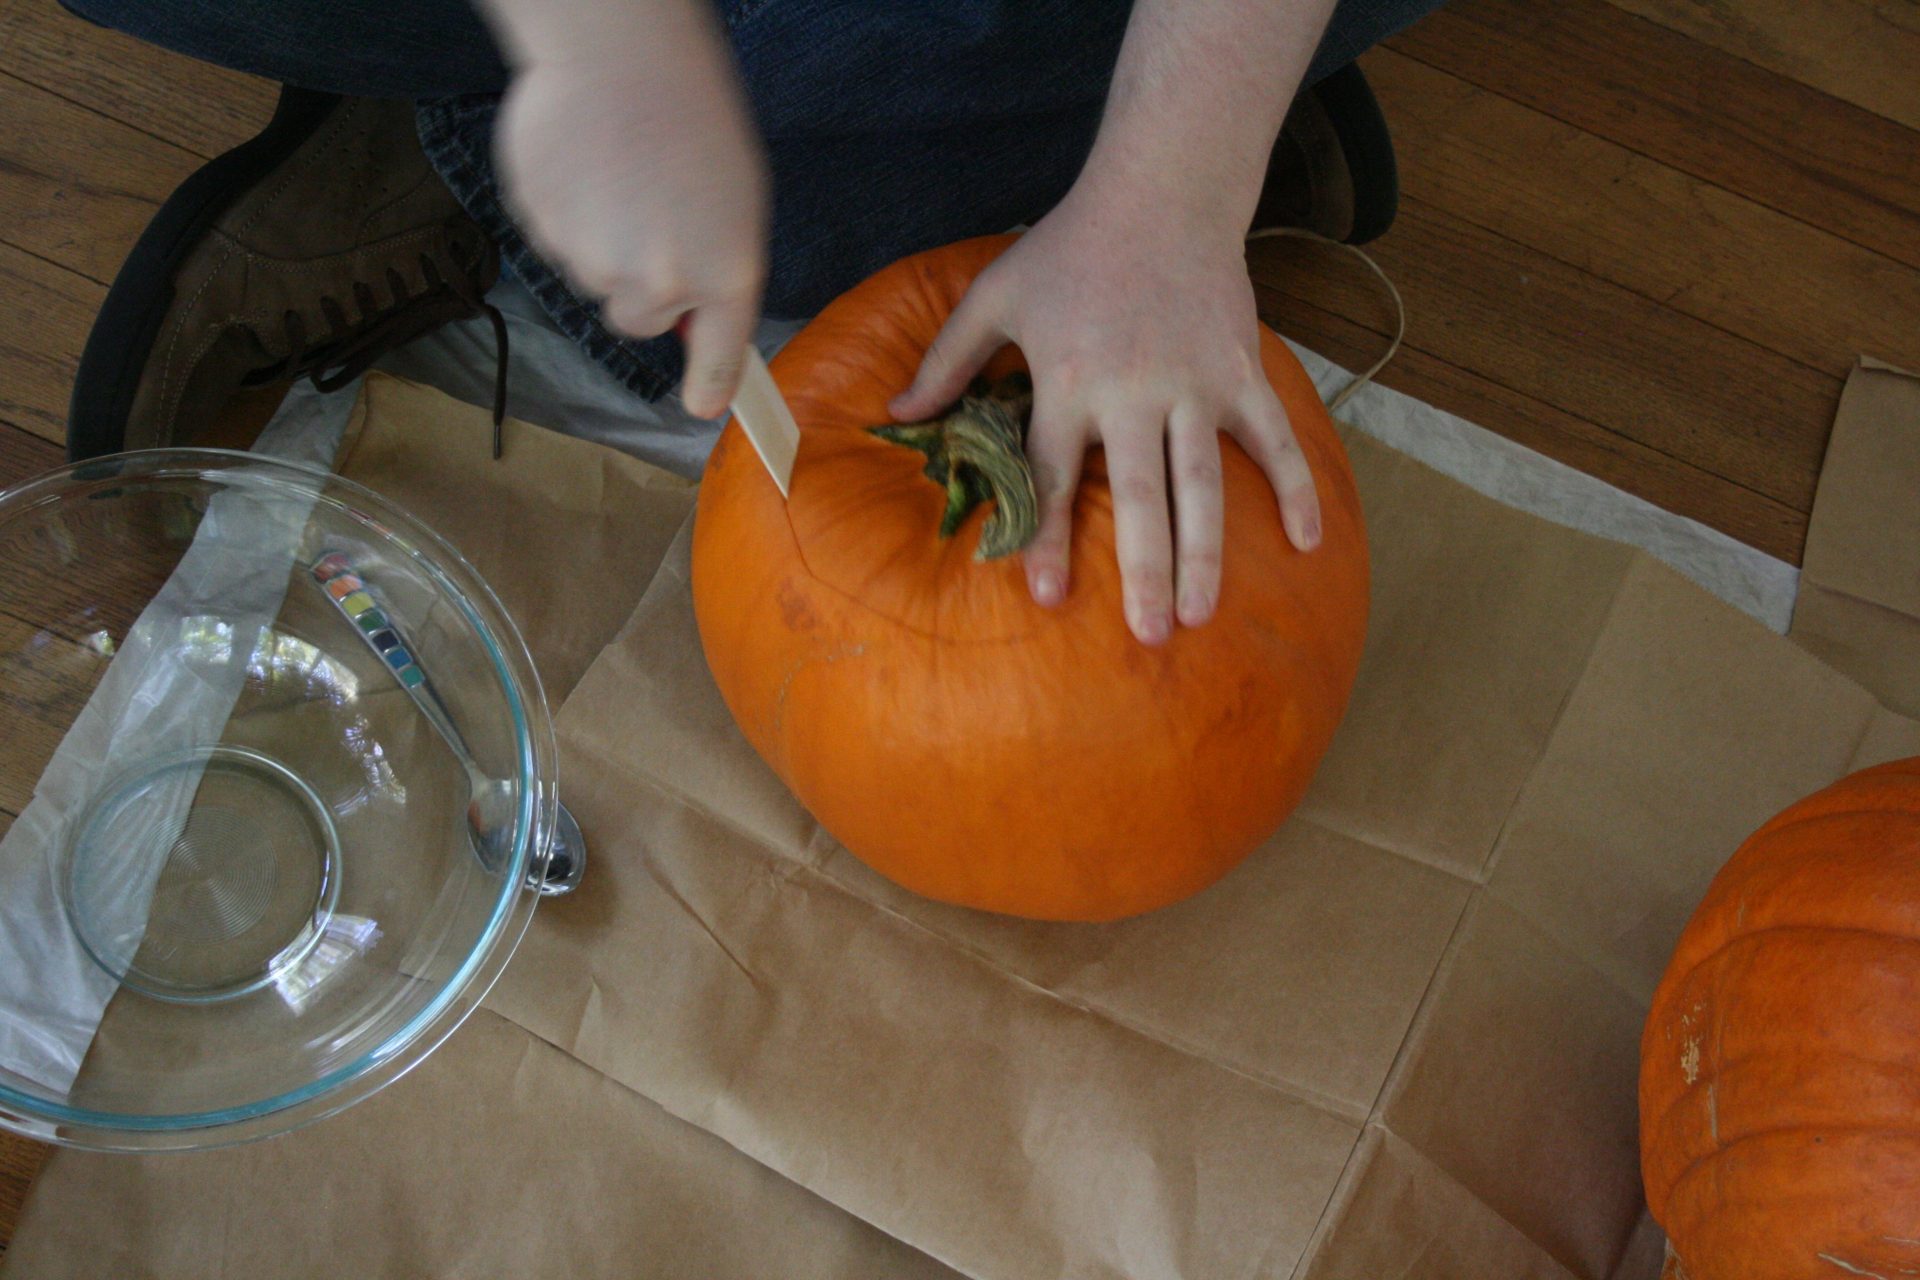
To start the carving process use your exceptionally sharp knife and cut at an angle around the stem of the pumpkin in any shape you’d like. If you cut straight down the top will simply fall in when you go to replace it. Notice that Mr. MVP is cutting away from his body. Most likely, I would cut towards myself, which is why I was taking the pictures.

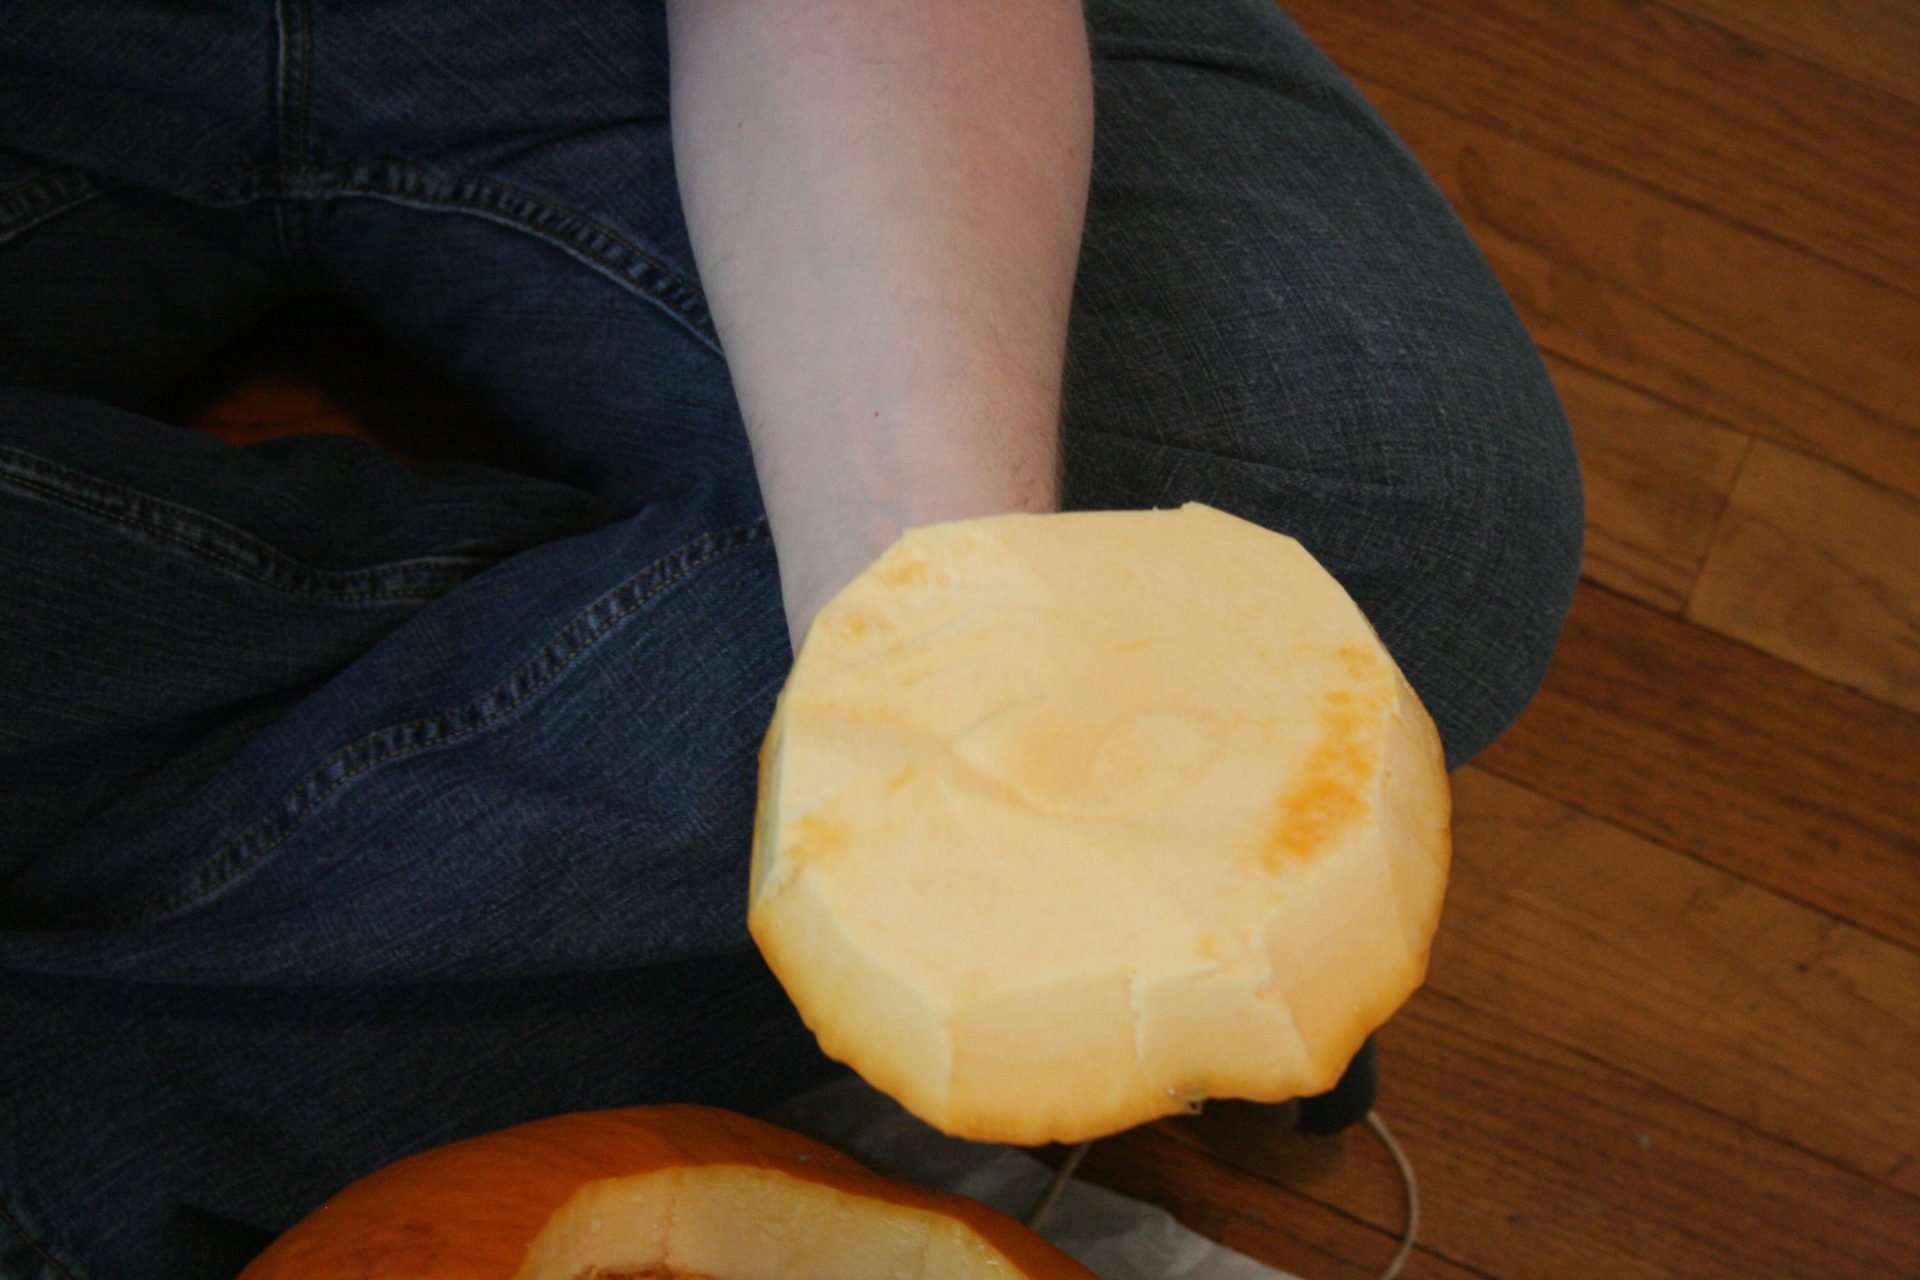
If you are roasting pumpkin seeds I’ve got directions for that as well, but if time doesn’t permit additional autumnal family traditions, cutting the pumpkin guts off the top of the lid of the pumpkin works too.
Easy!
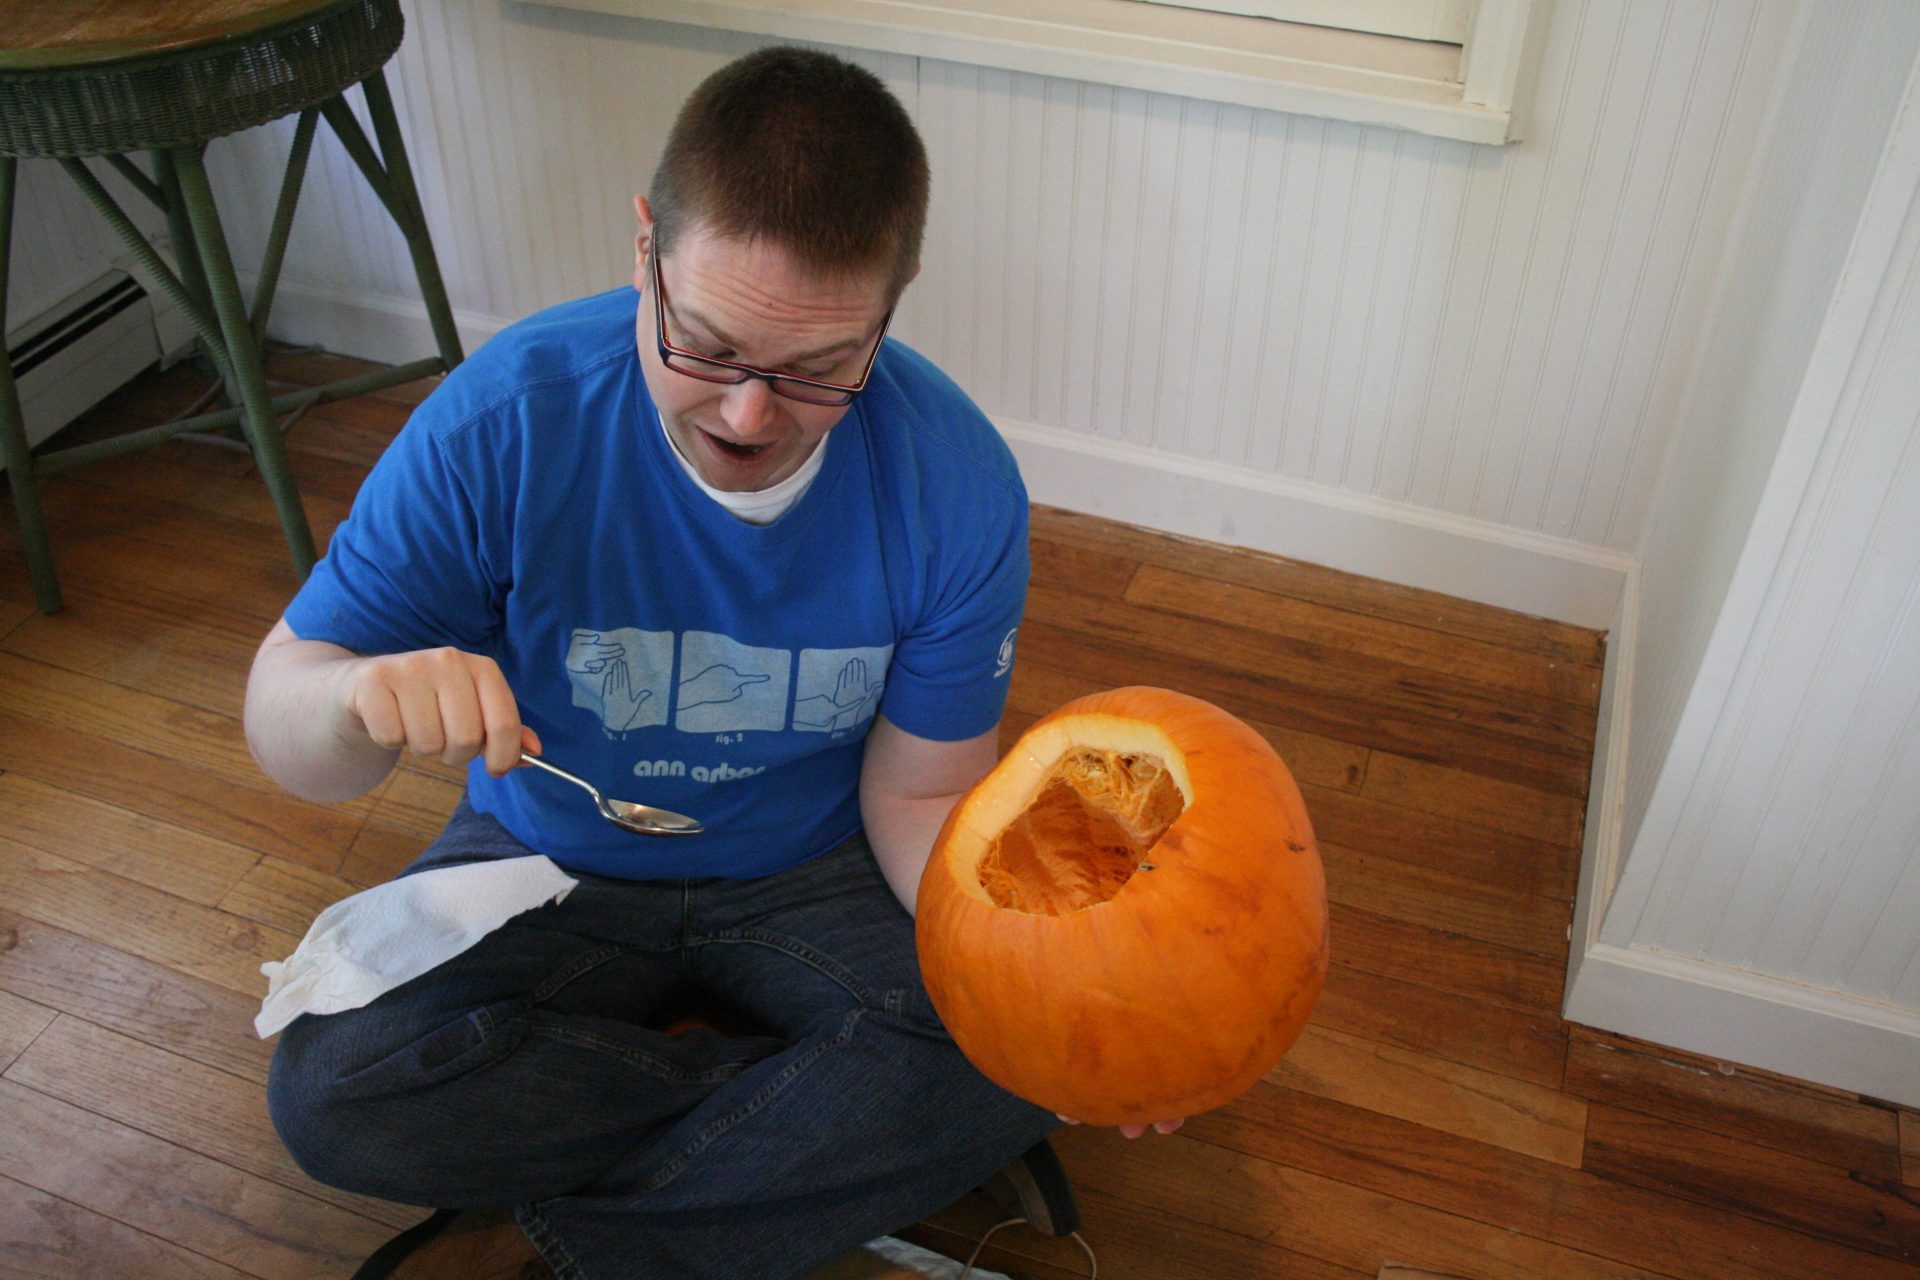
Sorry, but I think this picture is extra hilarious.
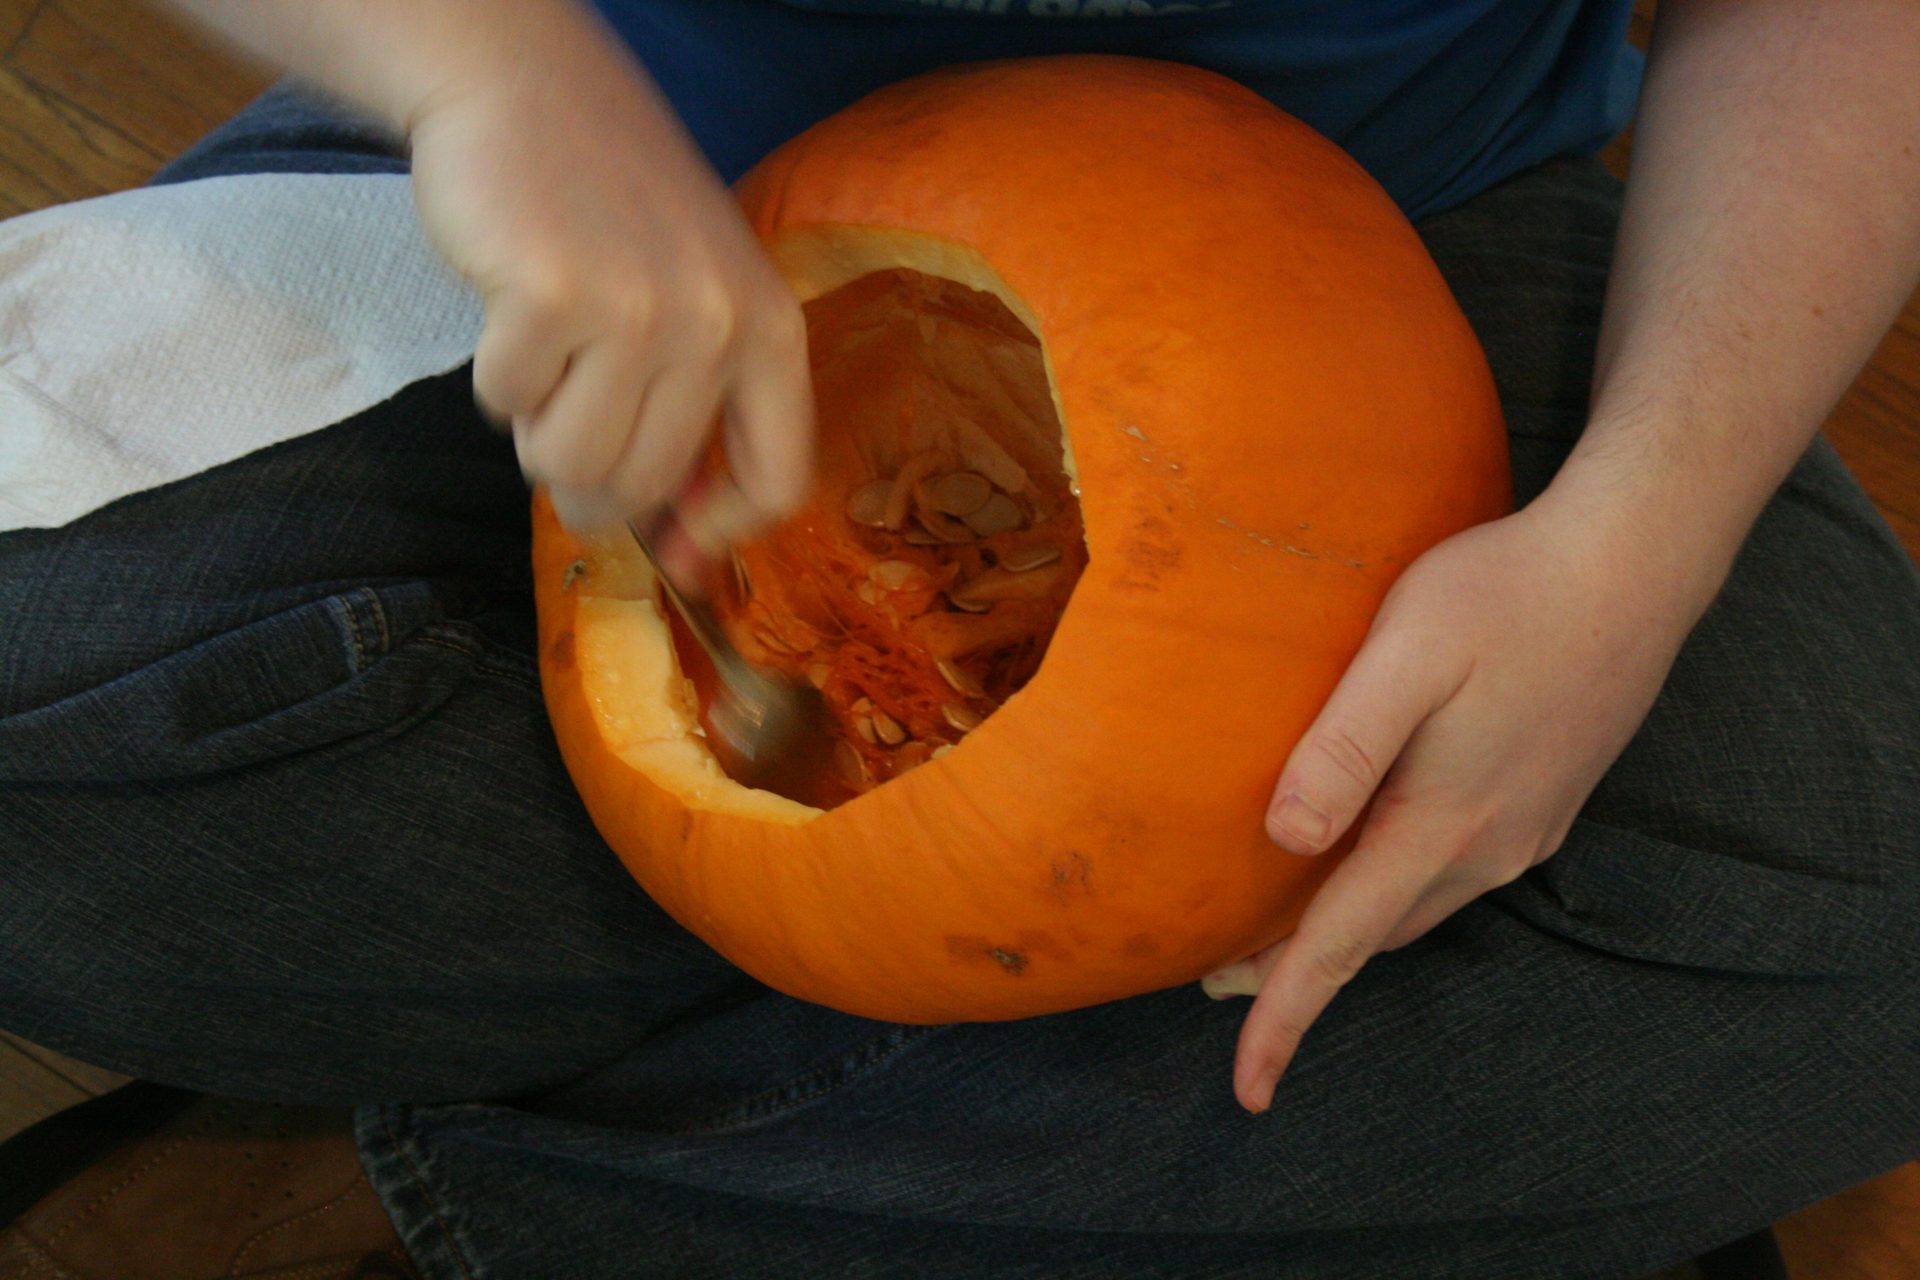
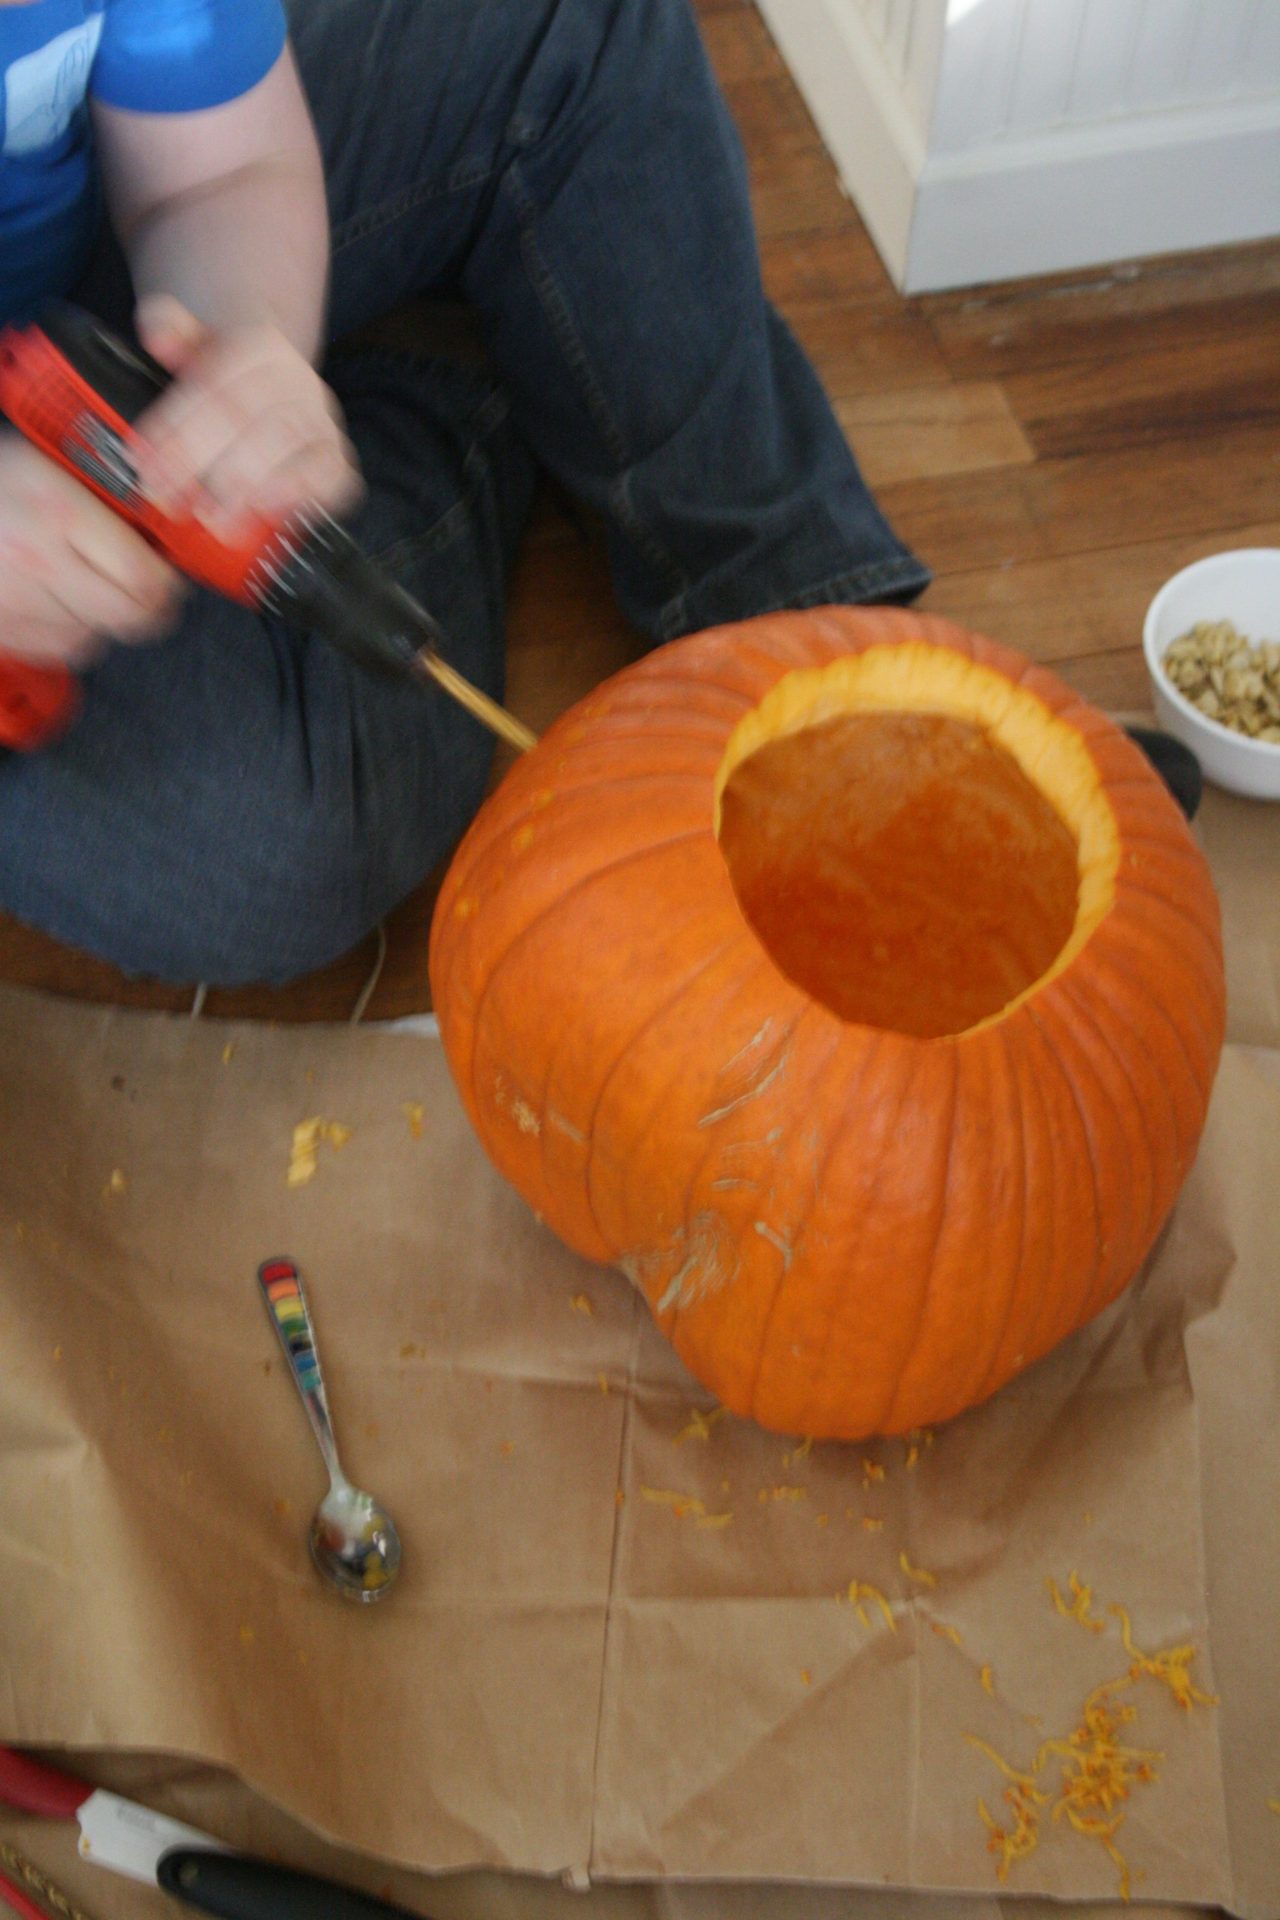
The simplest method of getting all the pumpkin out is by using a spoon and scraping the inside. The seeds and pulp should fall away.
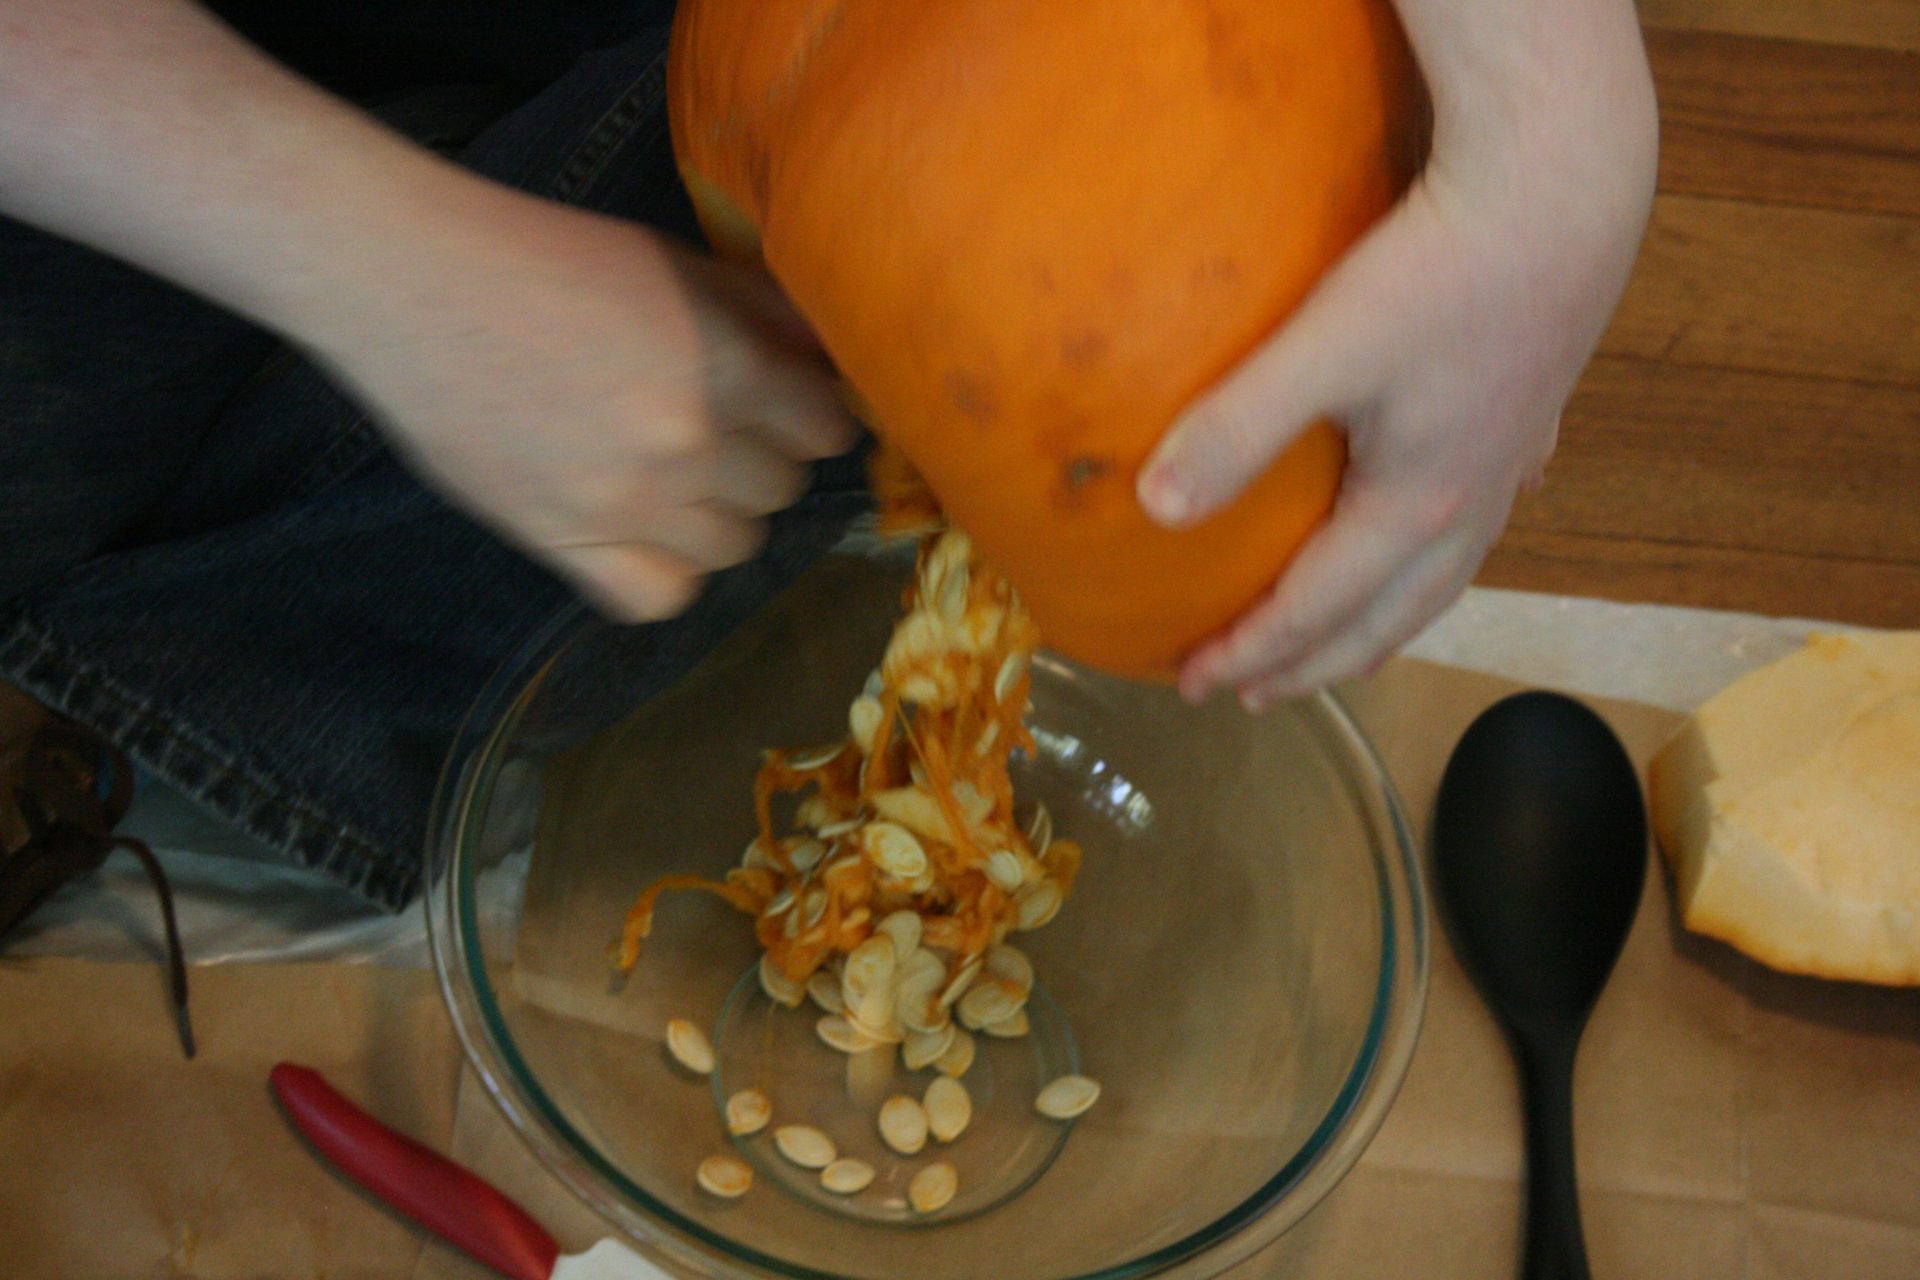
Put all of your pumpkin guts in a bowl for later disposal. Now you are ready to carve your pumpkin! Tools are essential.
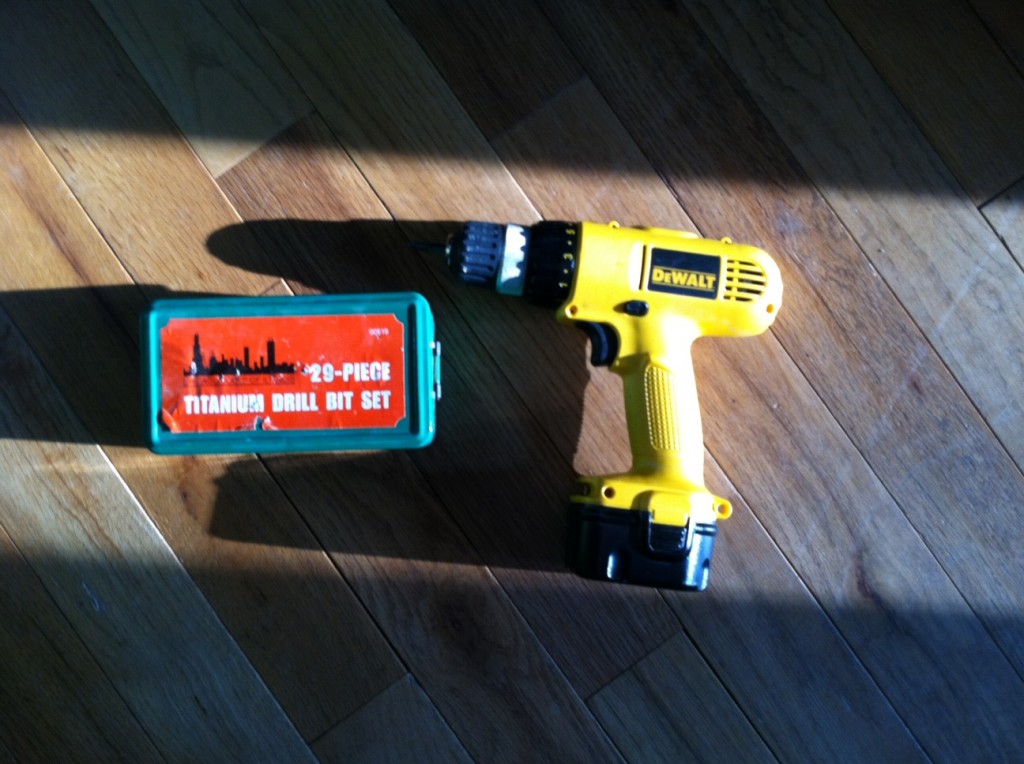
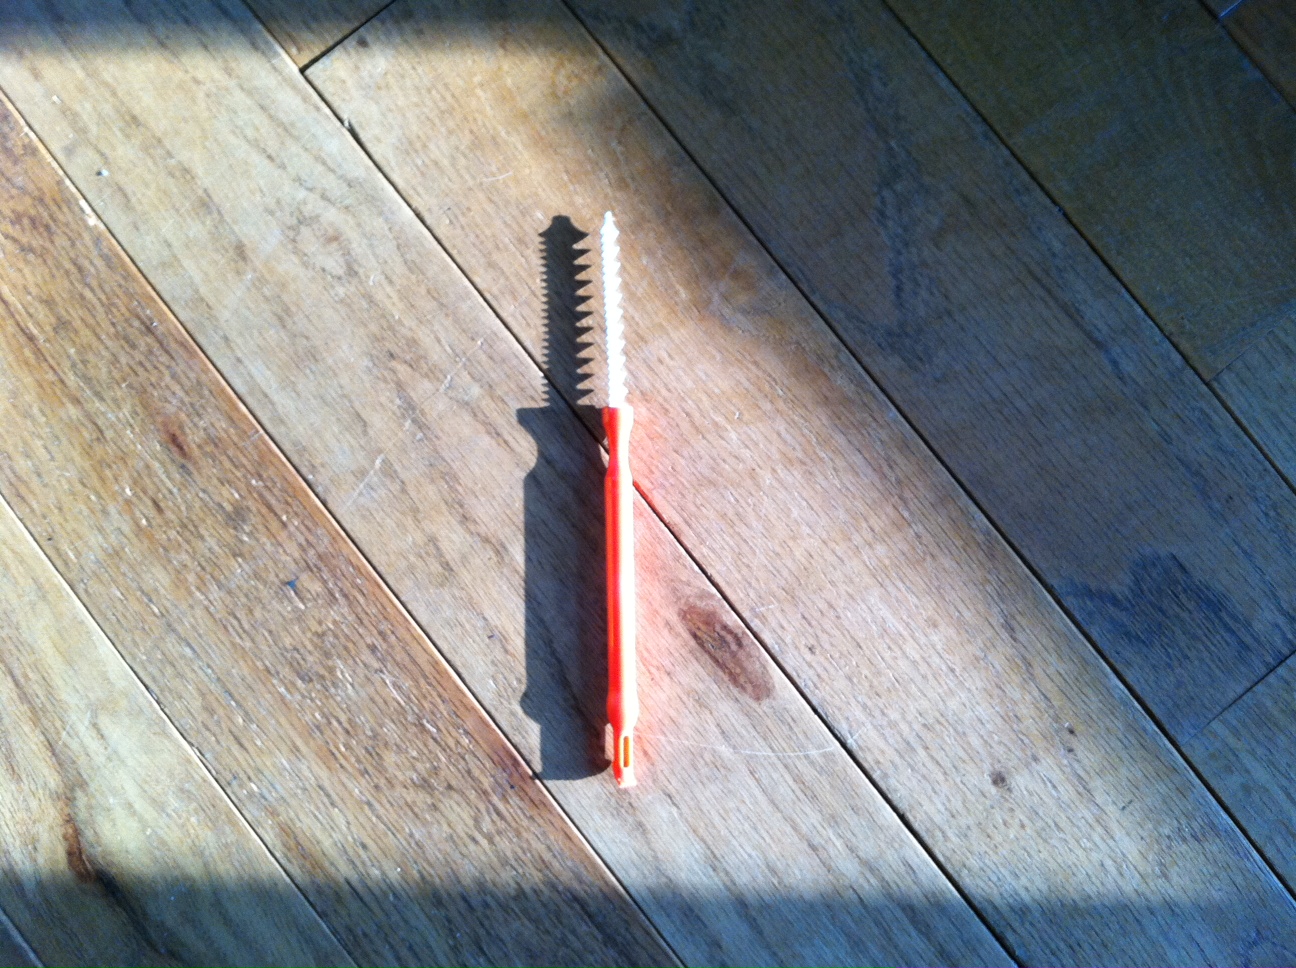
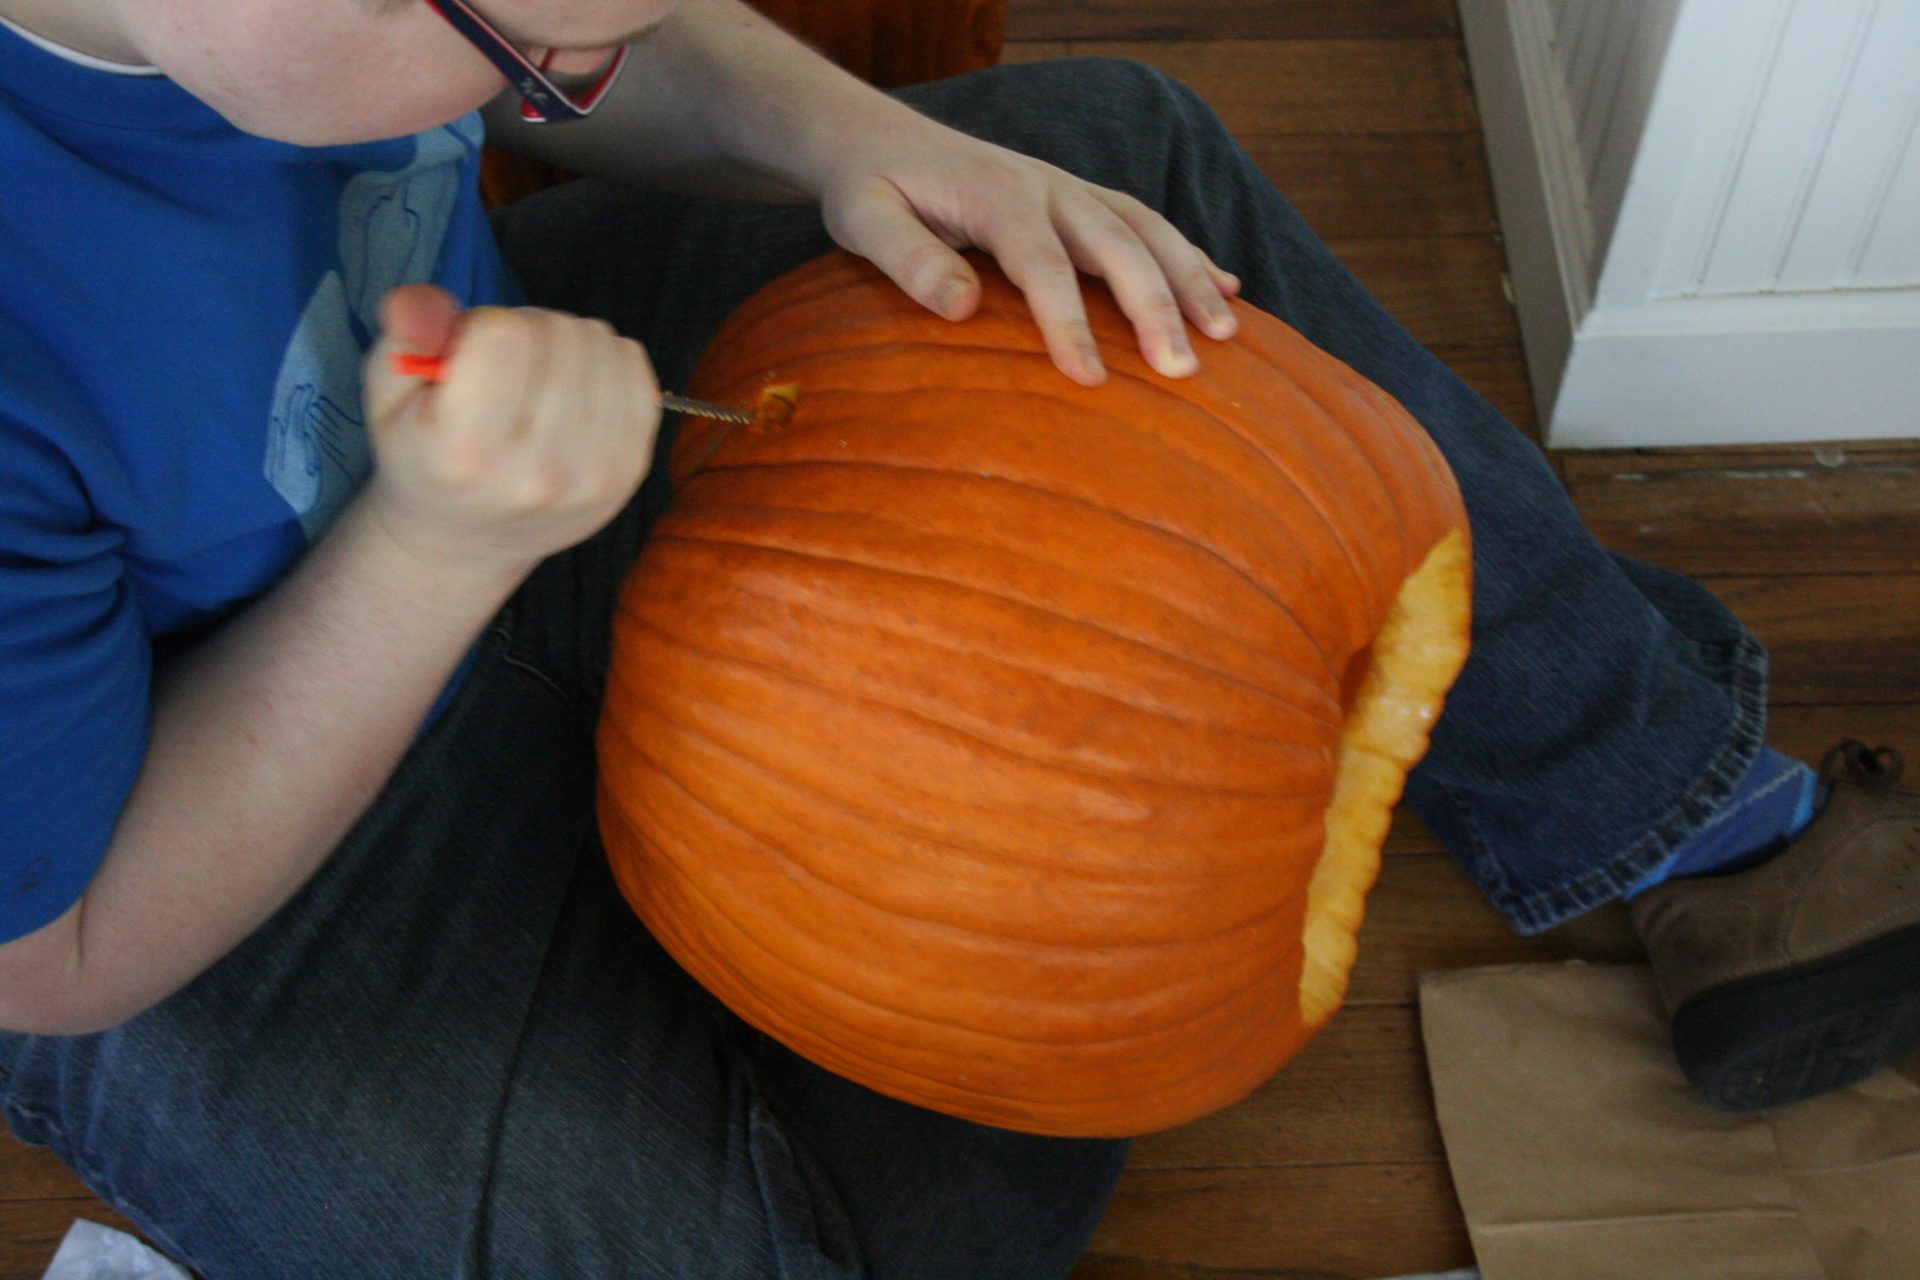
I made my grandfather proud. Not only did I use a drill, but I even used Papa’s drill bits.
Mr. MVP used a fancy pumpkin carving knife that we discovered in our silverware drawer. Apparently these little knives are particularly inexpensive and make carving effortless. They are Mr. MVP approved. If you don’t have one hiding in your silverware drawer, you can buy them at Amazon or at your local grocery store.
When Mr. MVP picked up his orange knife and started carving willy nilly I was shocked. Shocked! He is a little, tiny bit of a perfectionist. I was also dazzled by his pumpkin carving skills.
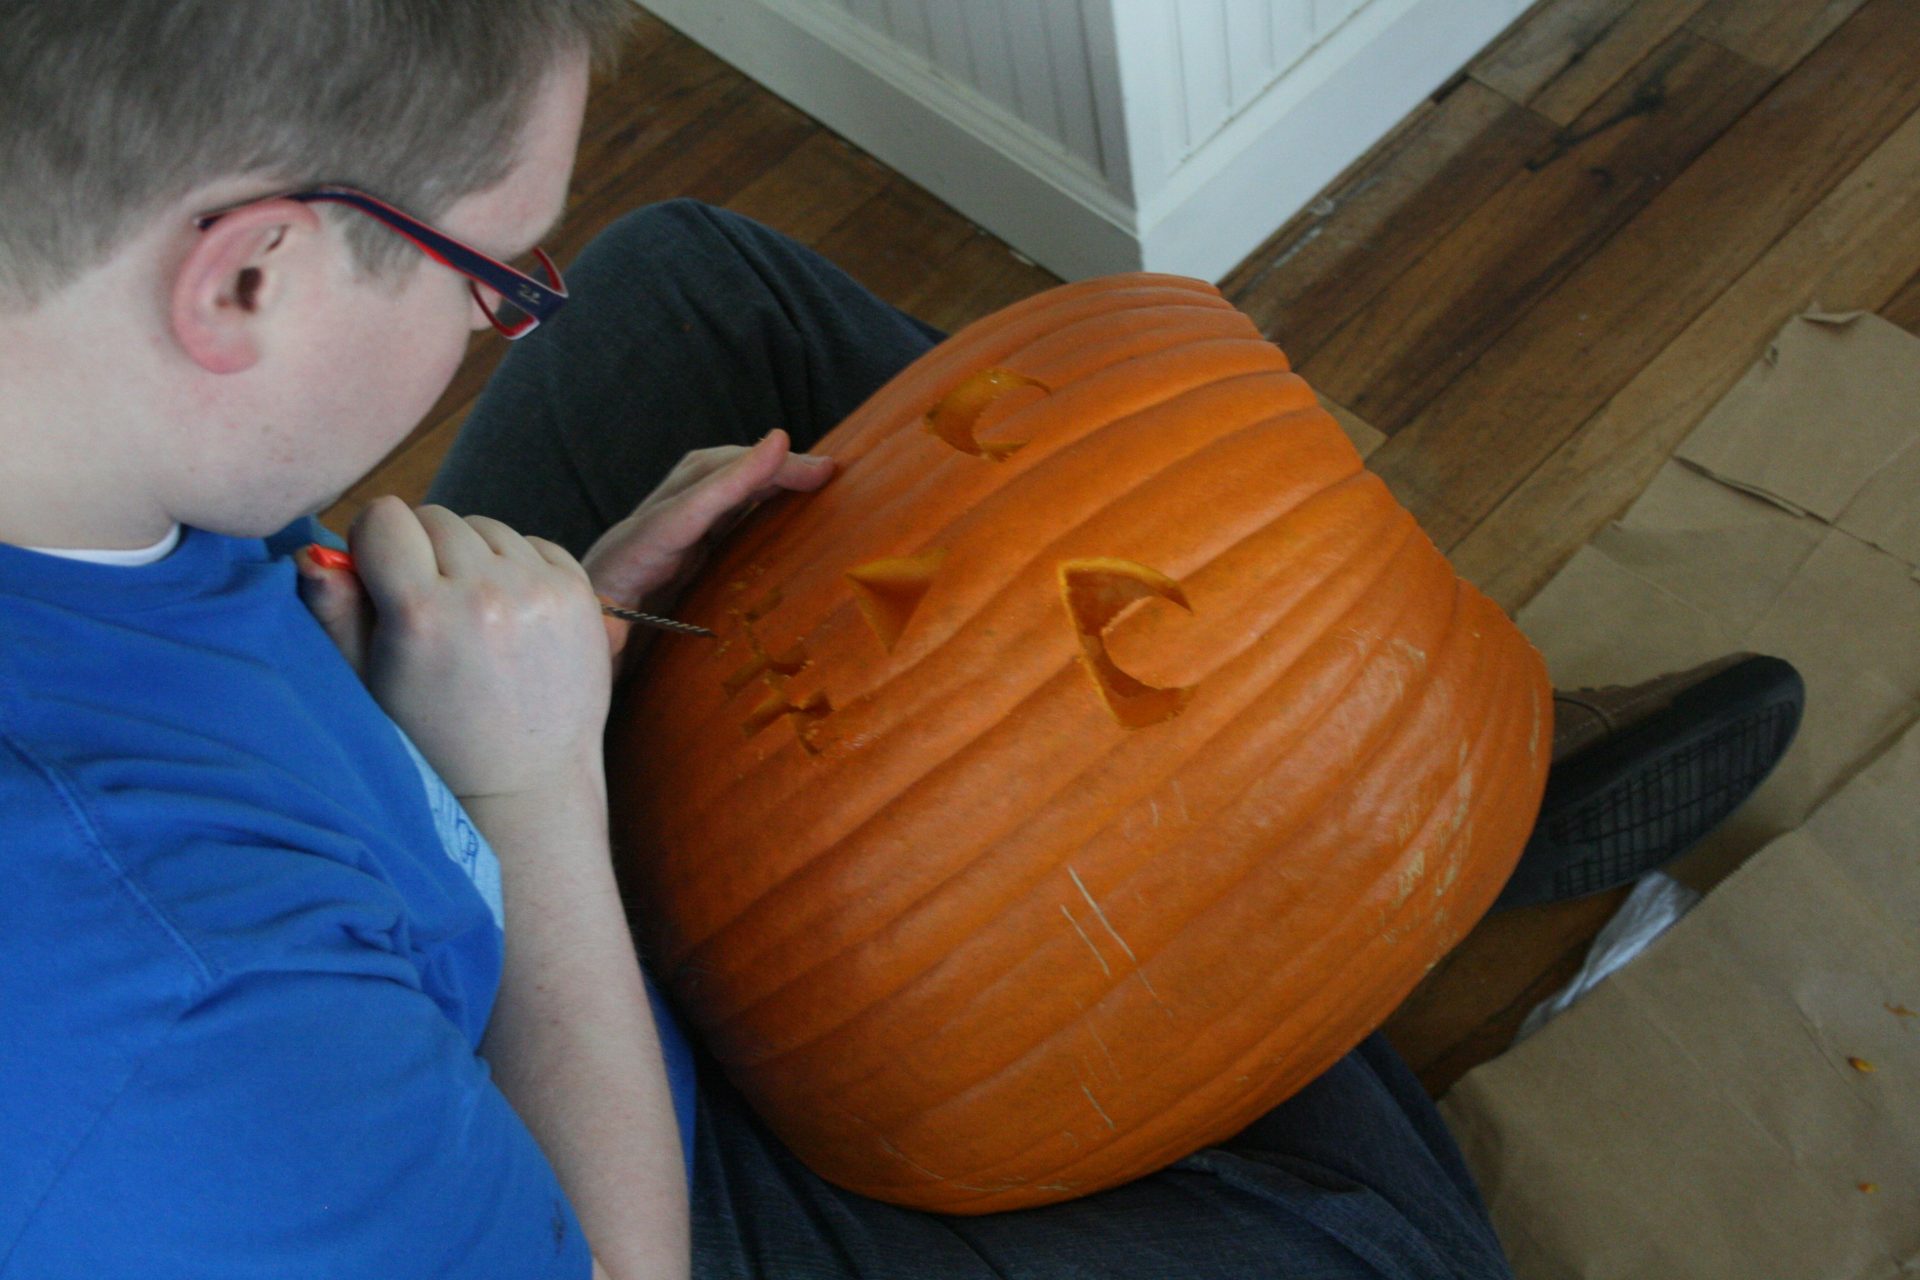
No stencil. The remarkable part is he went on to carve Blue’s pumpkin and fix my pumpkin all without a guide. The man is a pumpkin ninja. I asked if he had any tips and he said to just keep moving the knife and don’t think about it.
As I said, my pumpkin needed a little help because even though I used a drill to make my amazing design, I did not use a large enough bit. Mr. MVP resorted the inside of my pumpkin to thin the inside and then used a larger bit to make the holes bigger. If you are using a drill to make a design, remember larger is better.
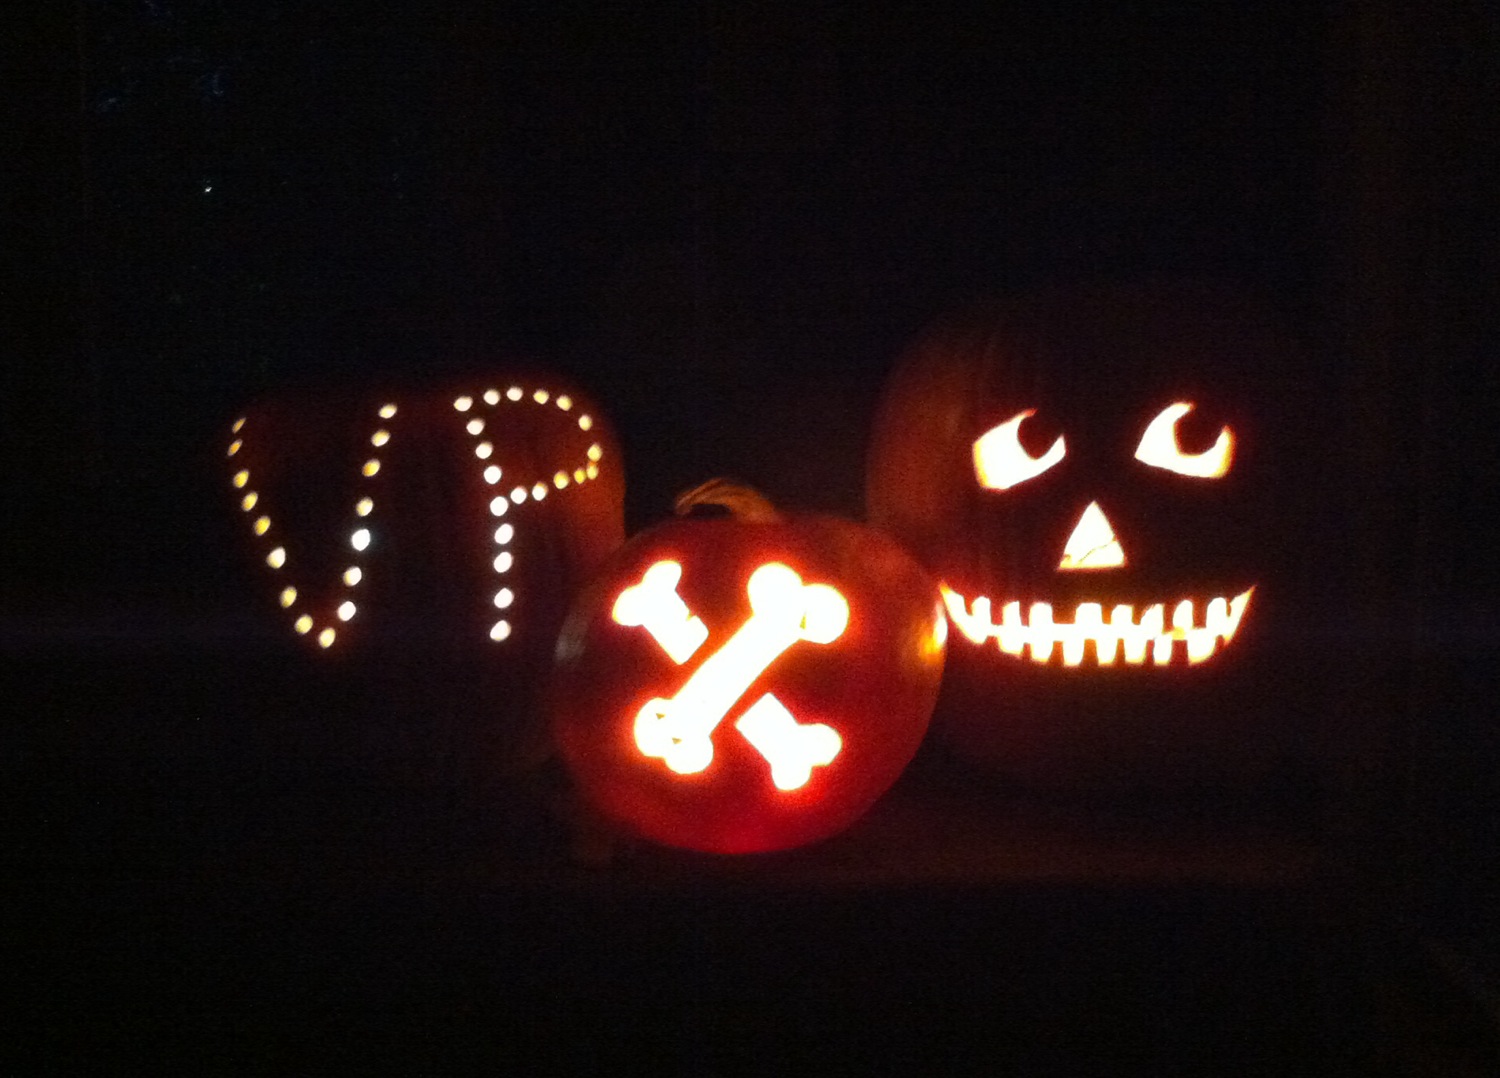
The finished pumpkin products are spectacular and Mr. MVP is technically responsible for all three. If you aren’t too sure of your freehand abilities Ms. Martha Stewart has 46 pumpkin templates that will appeal to all sensibilities to help you along the way and don’t worry, I won’t tell anyone.
Happy Halloween!
About The Author
Nicole
Member of Team VP, knitter and Mama to Blue and Franks. Life, is bloody good.