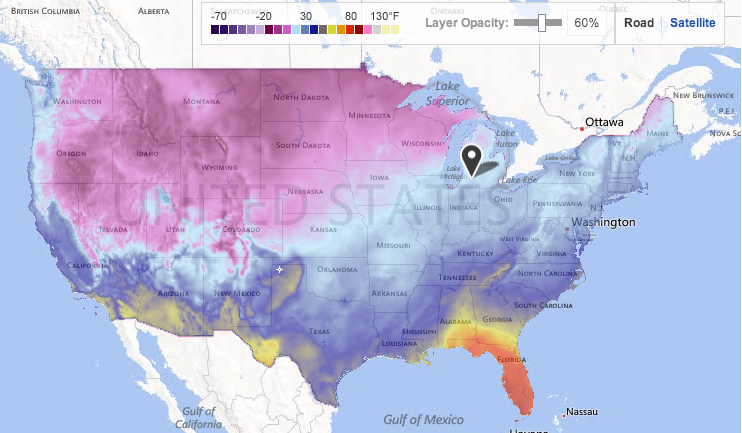
If you live in the United States there is a relatively decent chance it is cold at your house right now. When we woke up this morning it was a whopping 16 degrees and at Buck Branch the temperature has barely been breaking 30. Usually this time of year they average around 55 or 60.
To honor the cold, I decided it was time for some snow. Paper snow! Mr. MVP and I sat down and each made our own paper snowflakes and I thought I would teach all of you how too. The supplies for my gigantic snowflake are super easy: paper, scissors, tape and a stapler. This project is for both adults and kids, so don’t forget to share.
First let me say that I am horrible at following written directions, so I tried to include as many photographs as possible in this post. If you have any questions about how to make this snowflake, please feel free to ask questions and I will answer as quickly as possible.
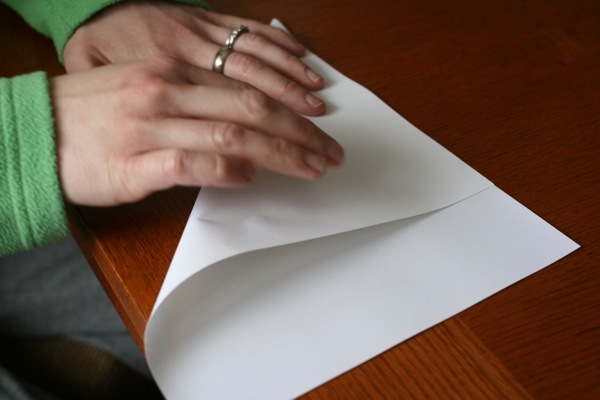
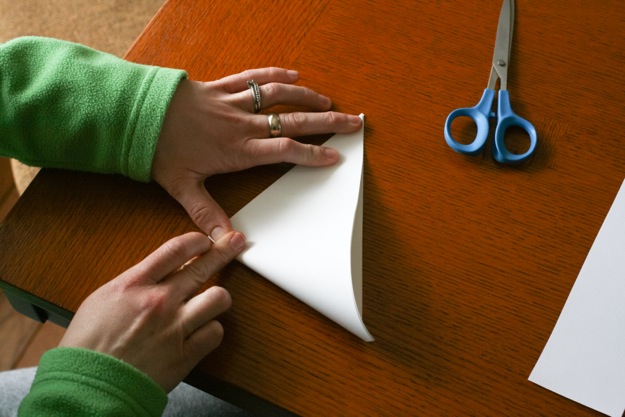
The first step involves folding your paper into a square. If you are using a standard 8 1/2 x 11 sheet of paper simply take one corner and fold it down so the top half of your paper forms a triangle.
Really, it’s that easy.
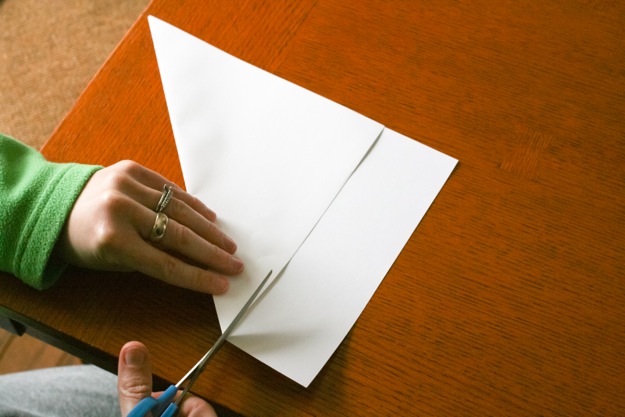
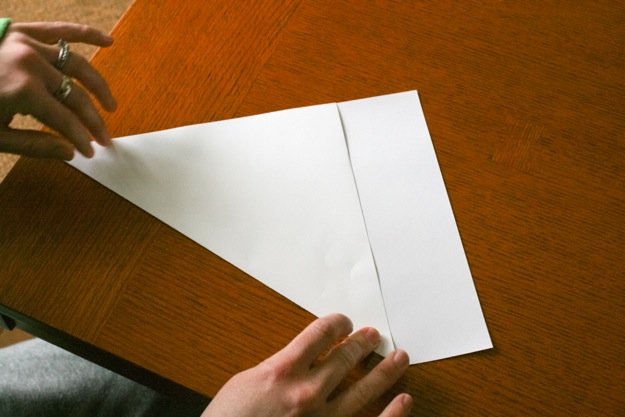
Pick up your scissors and cut off the bottom portion of your paper that is sticking out of the triangle.

I tried to think of something clever to do with this strip of paper, but so far I haven’t had any remarkable ideas. Just set it aside.

Now you have a large triangle that needs to be folded into a smaller triangle. Fold it in half.
This smaller triangle now has to be flipped over before you can pick up your scissors. This is amazingly easy though, so stay with me.
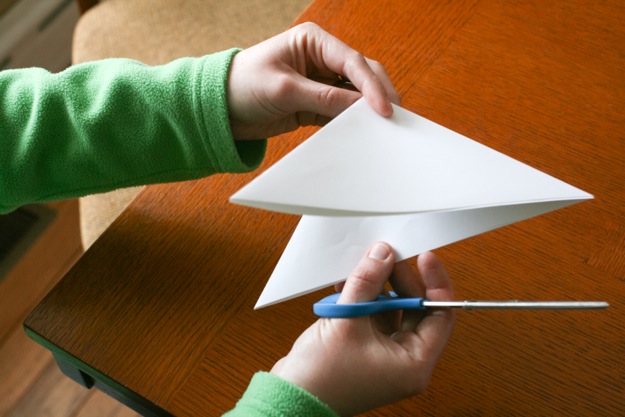
Hold the small triangle so that the folded hinge edge is away from you.
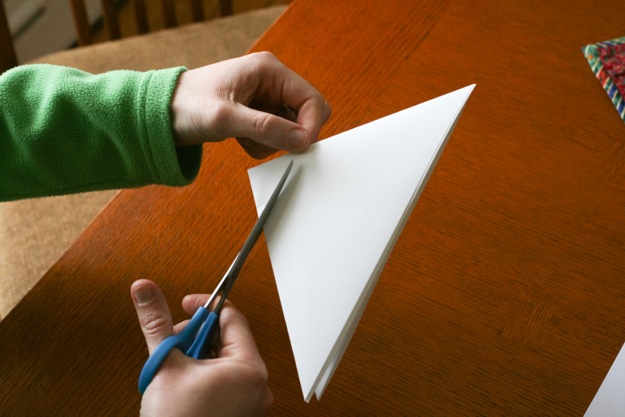
Before you cut, confirm that the hinge edge is pointing away from you and you are cutting on a folded edge. Good. Now cut the paper from the bottom stopping one thumb length from the top. This is all approximate and does not need to be perfect.

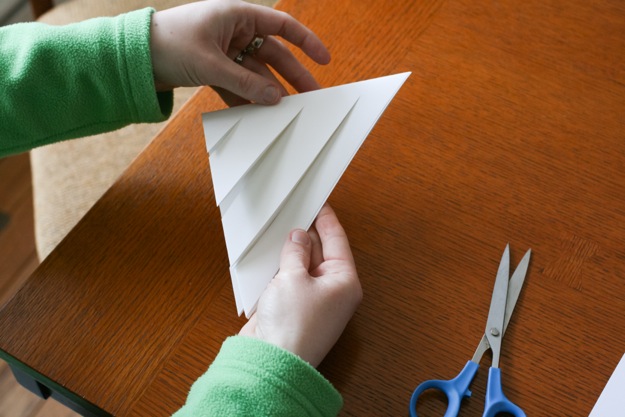
Repeat the same cut in the middle of the triangle. Remember to leave room at the top of the paper.

Your last cut is at the end of the triangle and is the same as the first two. Here is what all three cuts look like:
Now it’s time to unfold your triangle.
Seriously, open it up all the way.
Excellent work! We are almost finished.
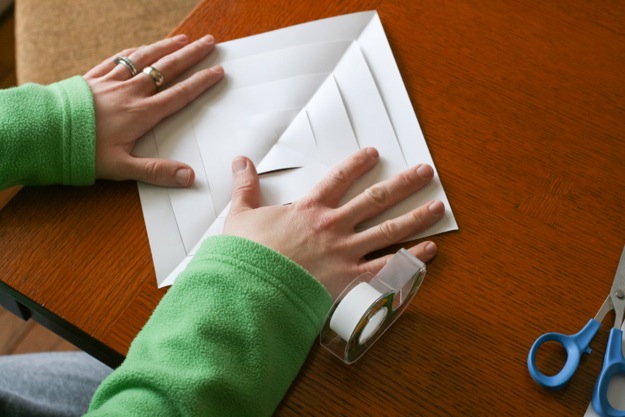
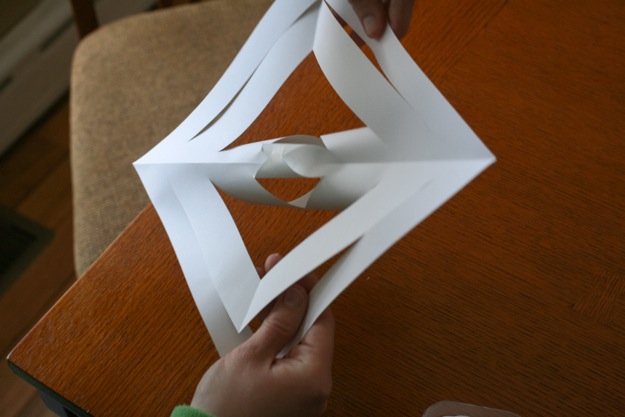
The center of what once was your triangle is now, obviously, your square. Grab your tape. Take the two corners of the inside square and tape them together with a very small piece of tape.
After the tape is in place, hold your square at the corners and flip the whole thing over.
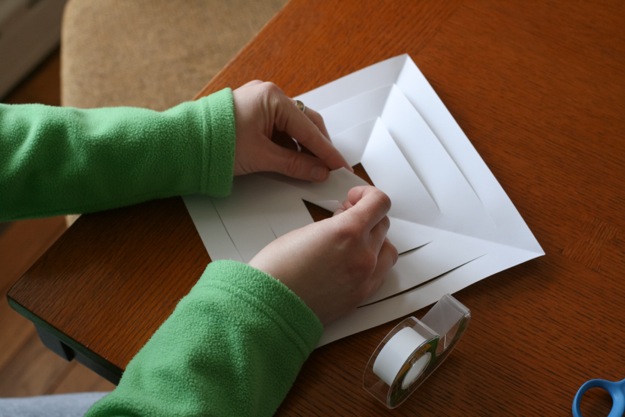
Pull the corners of the next square together and tape those together next.
Then flip.
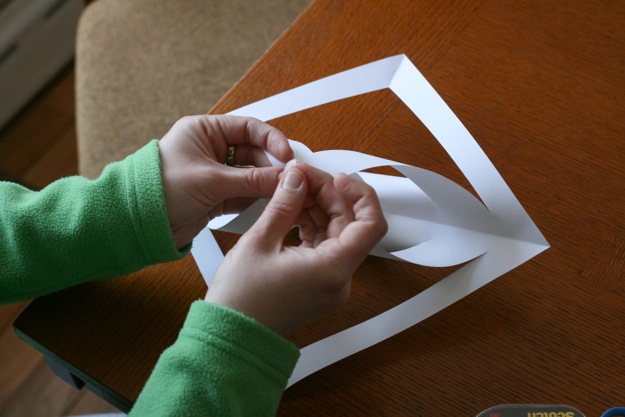
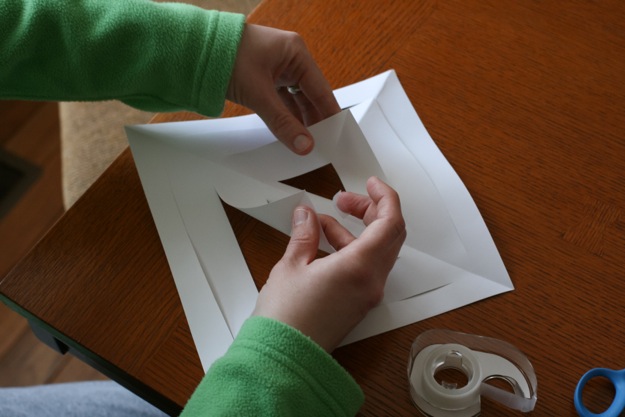
Now, tape the corners of the third square together. You are probably getting good at this, so I’m going to let you flip and tape the last square on your own.
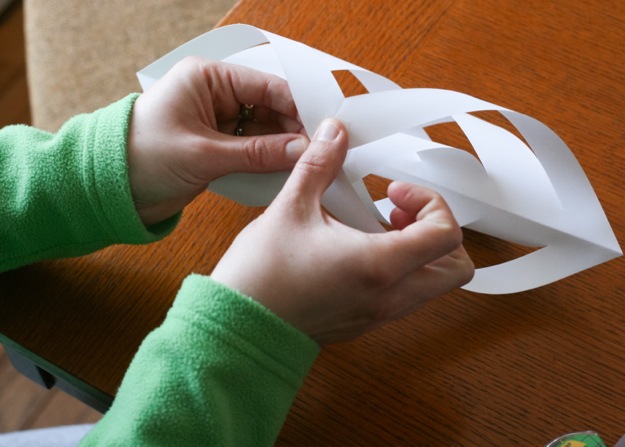
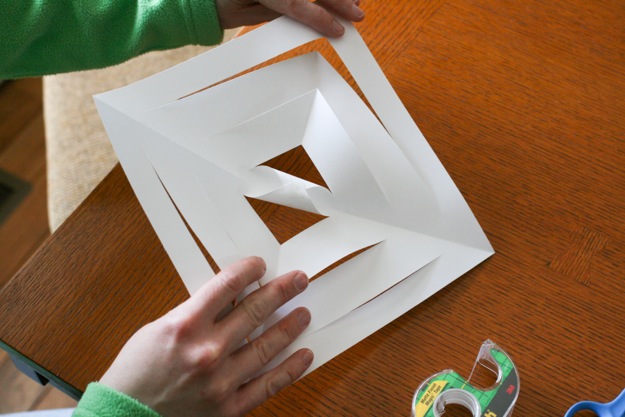
This is what you will end up with.
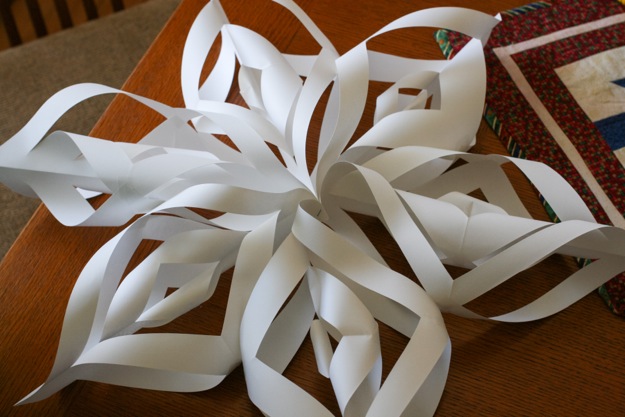
The whole idea is, to have six or seven of these spirals. You will need to start at the beginning of the process with a new piece of paper until you have as many as you want. This took me approximately fifteen minutes.
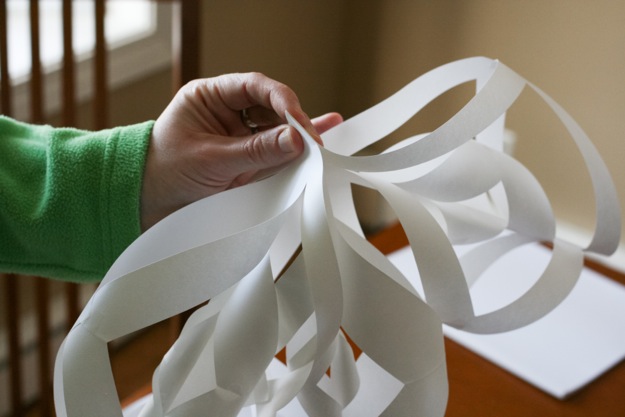
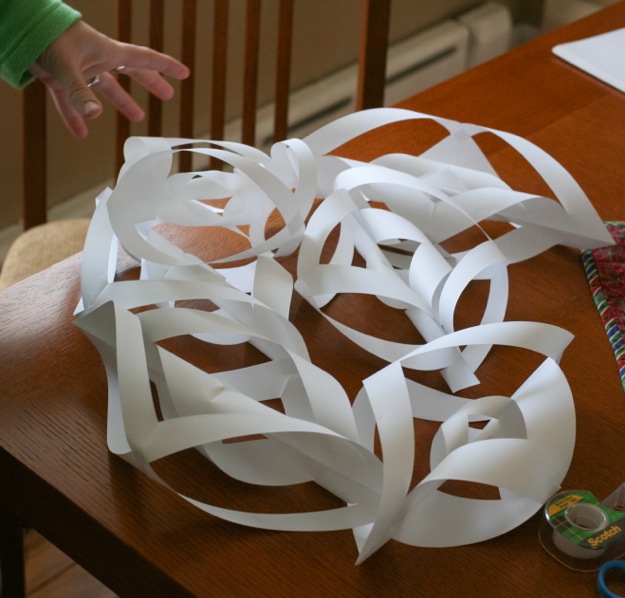
To assemble your snowflake simply gather each spiral and line up the corners.
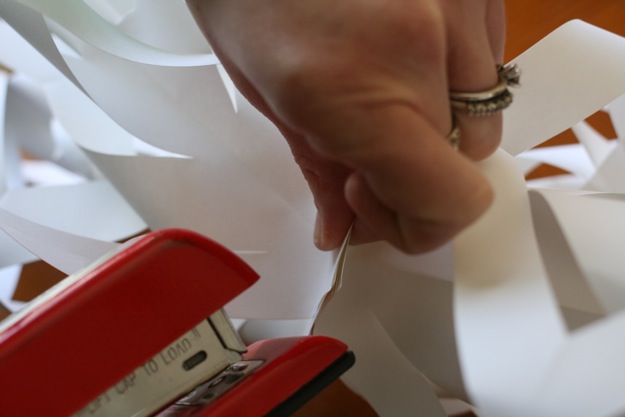
Take your stapler and staple all of the spirals together.
Excellent job!
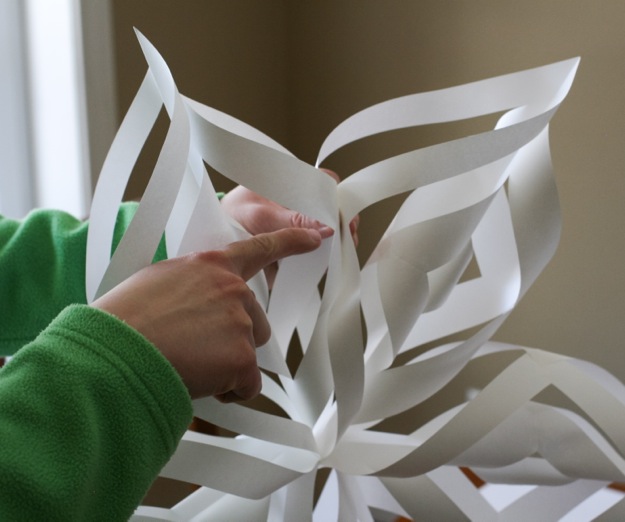
Before you hang your snowflake there is a structural issue I noticed where my finger is pointing. To resolve this problem, just take your stapler and staple each spiral to the spiral next to it:

Now, if you plan on hanging your snowflake in your window, or on a mirror, you will need invisible thread and a hole punch or a sharp knife.
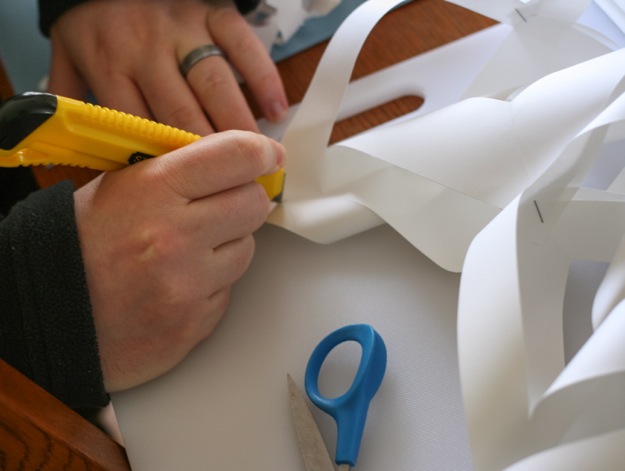
Mr. MVP cut a small hole in the top of one spiral with a razor knife.
![]()
I put clear thread through the hole and tied a slip knot.
We hung our snowflake in our front window as a reminder that no matter how cold it is outside our house is always the perfect temperature for paper snow.
About The Author
Nicole
Member of Team VP, knitter and Mama to Blue and Franks. Life, is bloody good.